Funny fact. Growing in Italy we didn’t have the Easter Bunny but we definitely had the giant chocolate egg, simply called The Easter Egg. One for each kid, giant (I’m taking about 9 inches up!!) and…most important thing, with a surprise inside.
Yep, it was a big deal for the kids…and it still is. Living in Los Angeles it is not usually easy to find an imported Italian Easter Egg for my kids. This year with the lockdown as you can imagine everything is different. No chance to find them here….so we decided to make our own with what we have in the pantry and in the house.
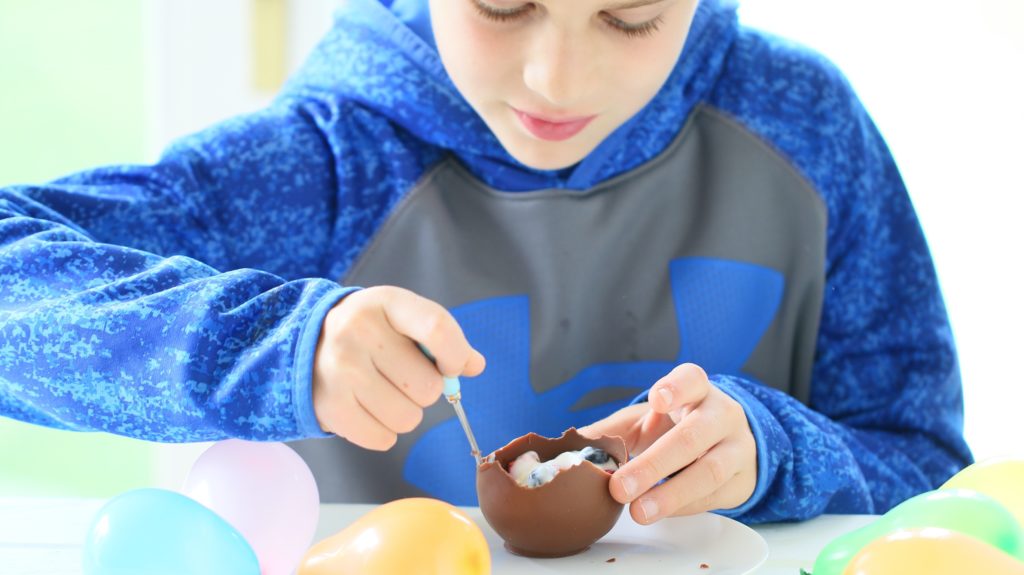
This is a lovely cooking activity for the kids, toddler and older ones too with different levels of involvement 🙂
All you need is:
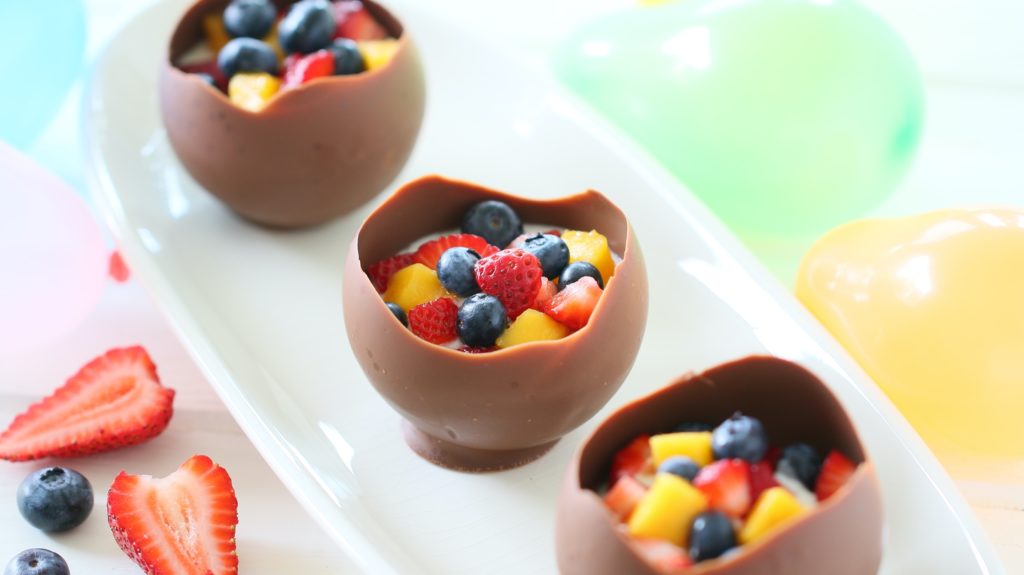
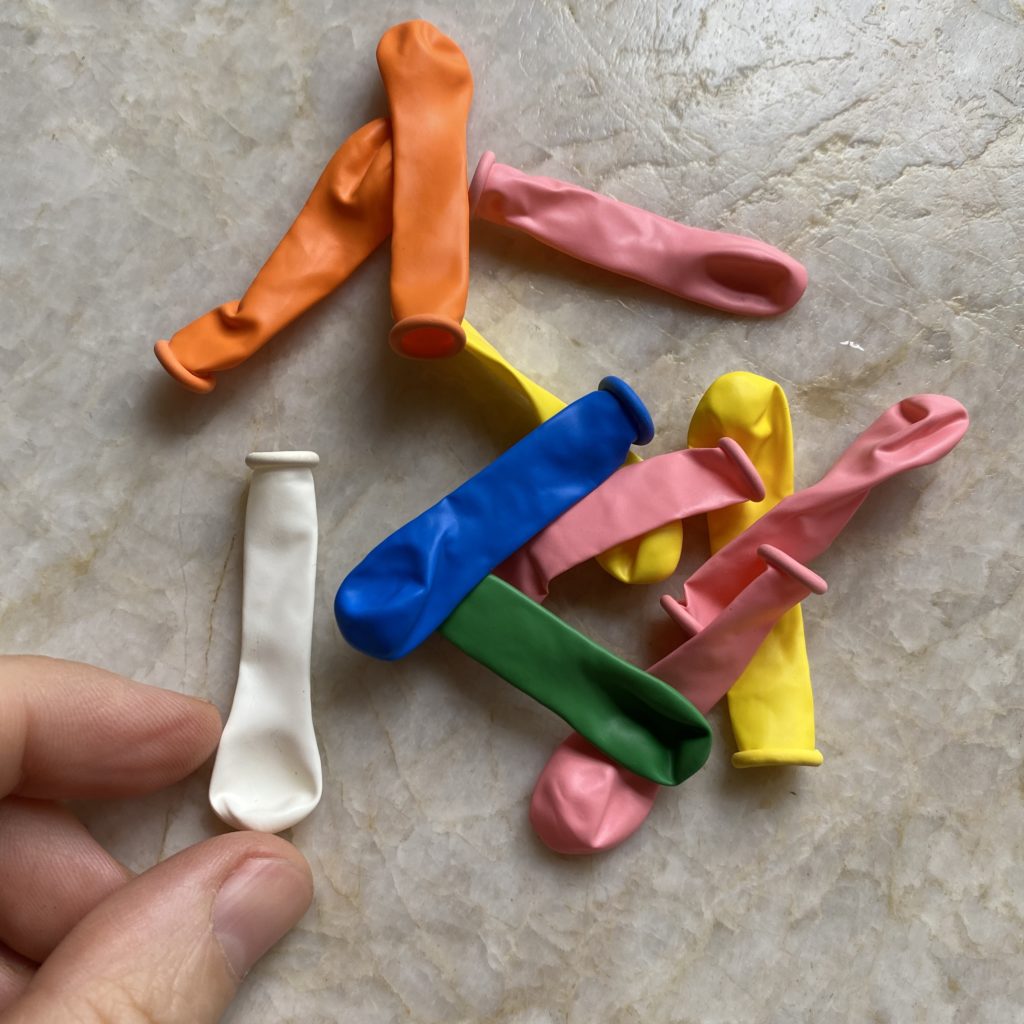
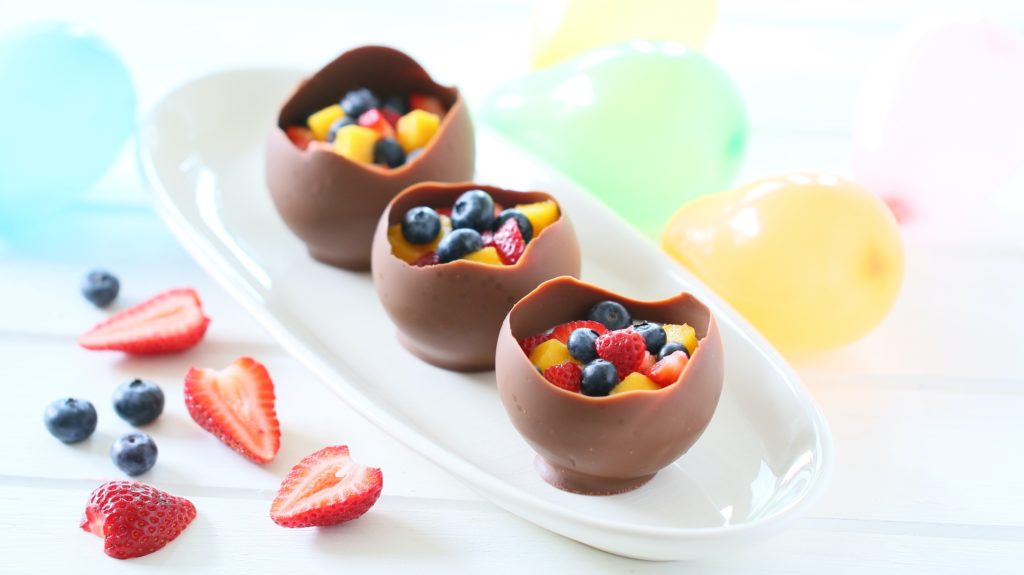
- balloons. Any size you can find in the house. We used a big big one for The Easter Egg and some small water balloons for chocolate cups that we ended filling with yogurt and fresh fruit as a lovely snack or dessert.
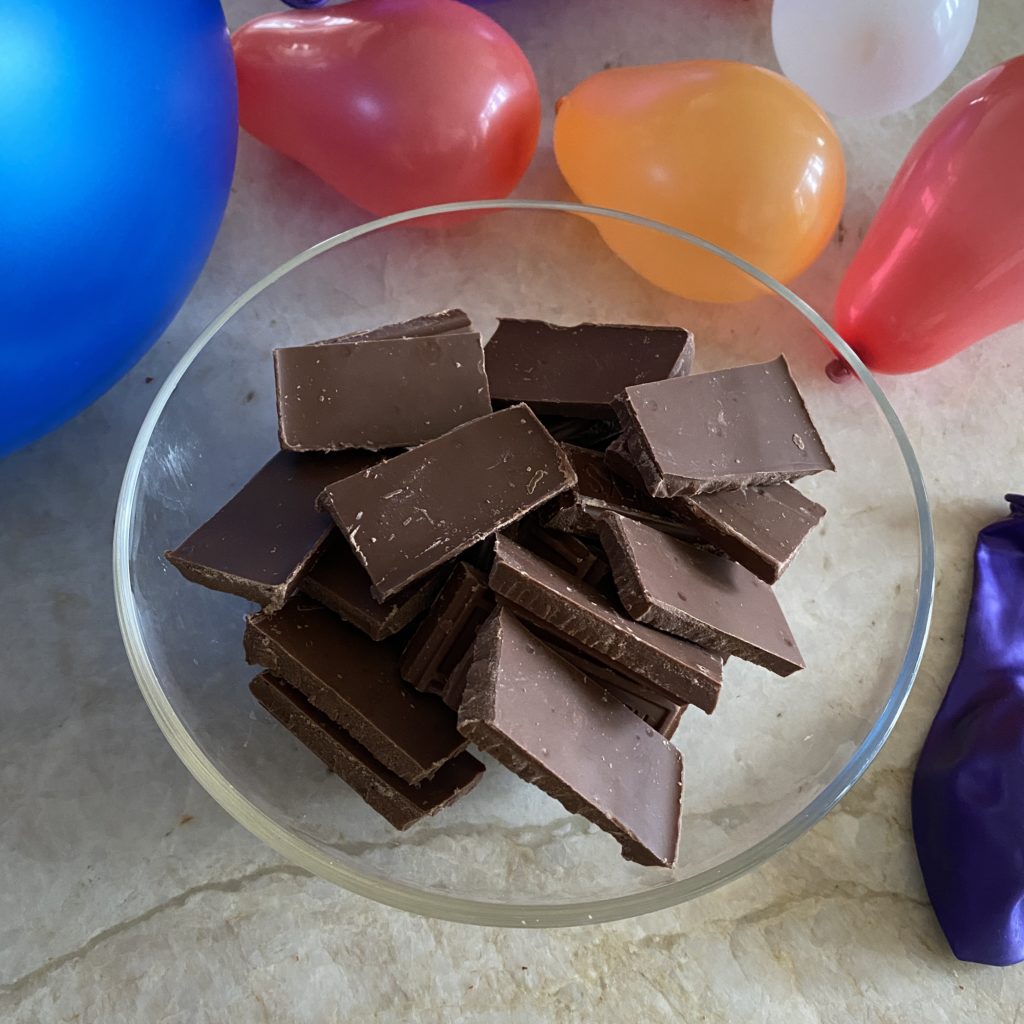
- chocolate. Any kind you have in the pantry. We used two 4.25oz bars, melted.
- decorations. Here it’s where you can really get creative and use what you have in the pantry. Here some ideas. Powdered sugar to write, M&Ms, coconut flakes, orange skin cut in stripes, lemon skin cut in stripes…basically anything edible and light weighted that can be glued to the chocolate egg.
- edible glue. To attach the decorations to the chocolate egg you have few options. I used powdered sugar mixed with a drop of water or you can melt some chocolate too and use it as a glue pending the decoration you are making and if you want the edible glue to be visible or not.
We started preparing the balloons. Do not inflate them too much or they will pop 🙂 You can also inflate them a bit more than needed so that you can play with them while the chocolate ones dry out!
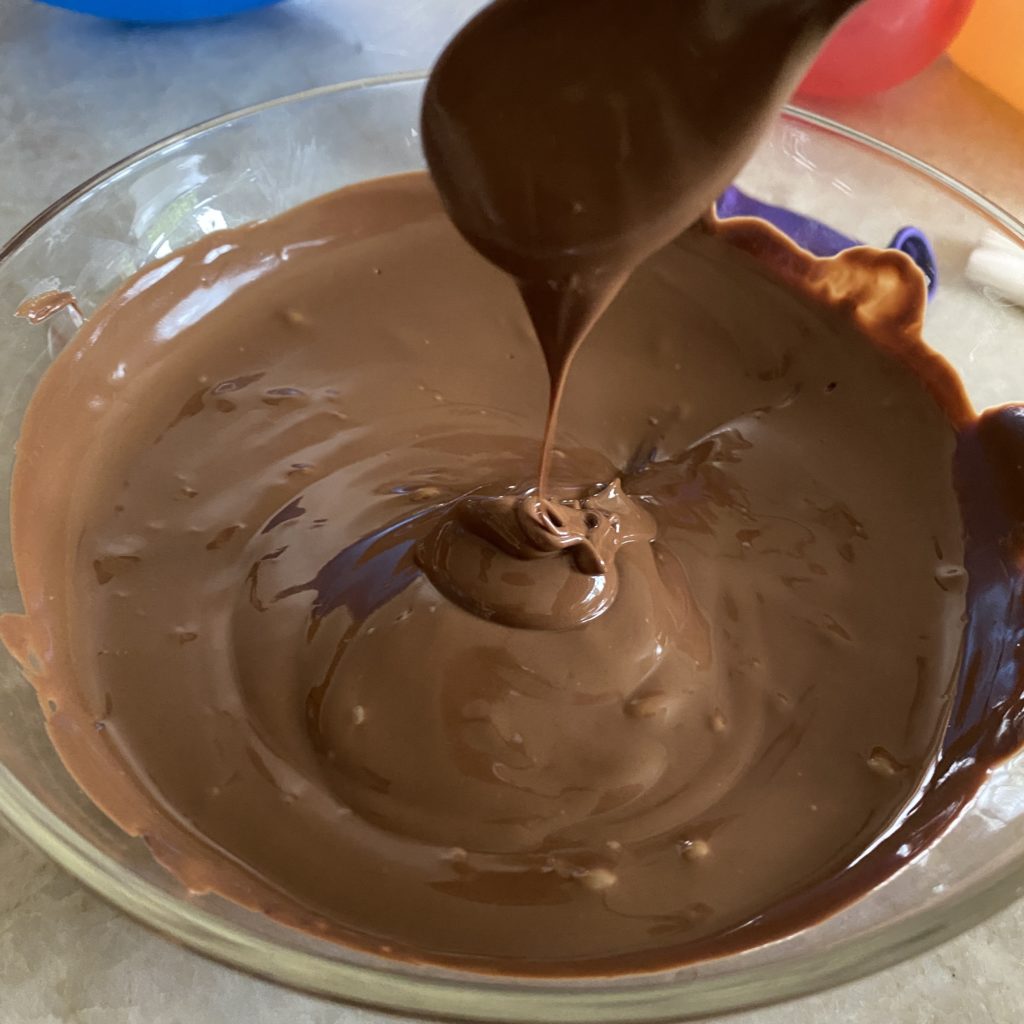
Next we need to melt the chocolate. Simply place the chocolate pieces in a microwave safe bowl (ceramic or glass) and heat them at 30sec increments to high. It took me three rounds of 30sec to have a smooth chocolate cream to use. I melted two bars of 4.25 oz. The chocolate should not be too hot or it will pop the balloons. Between 1 and 2 minutes should be enough.
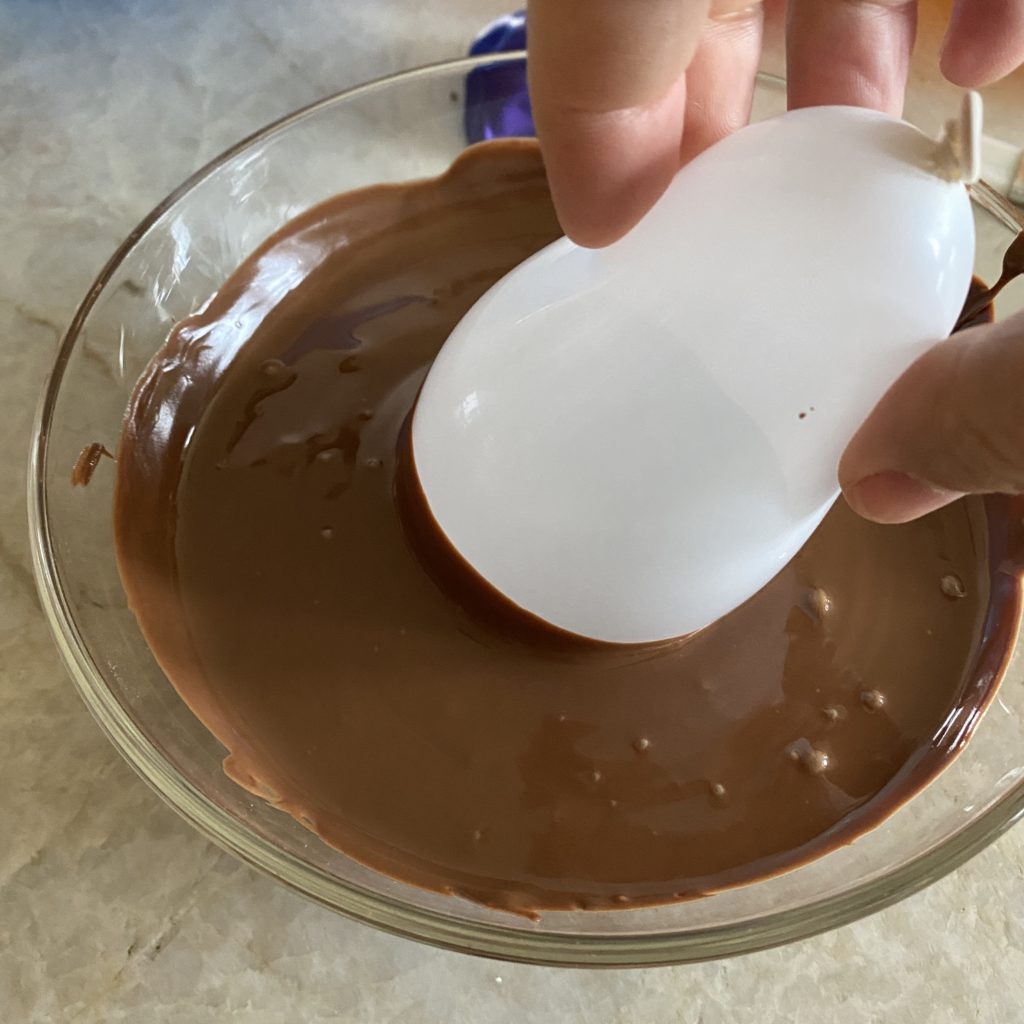
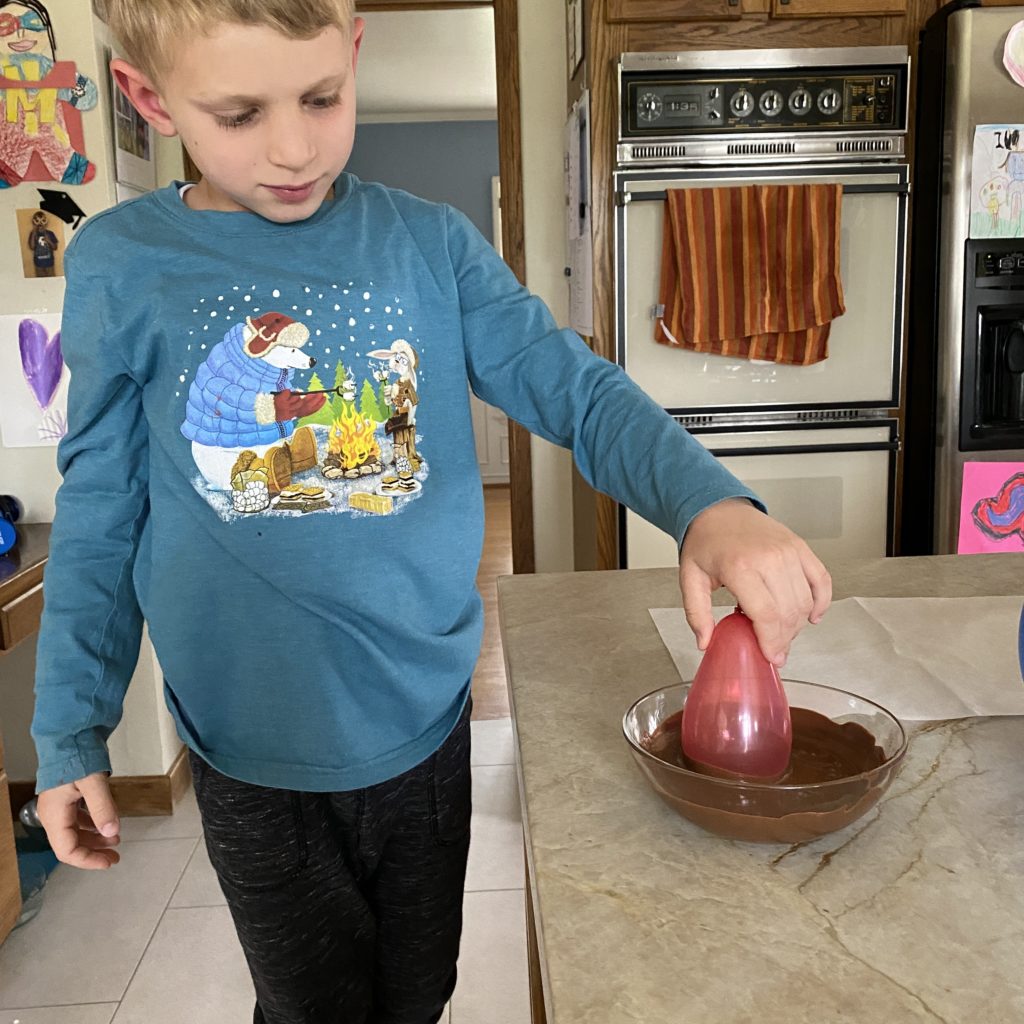
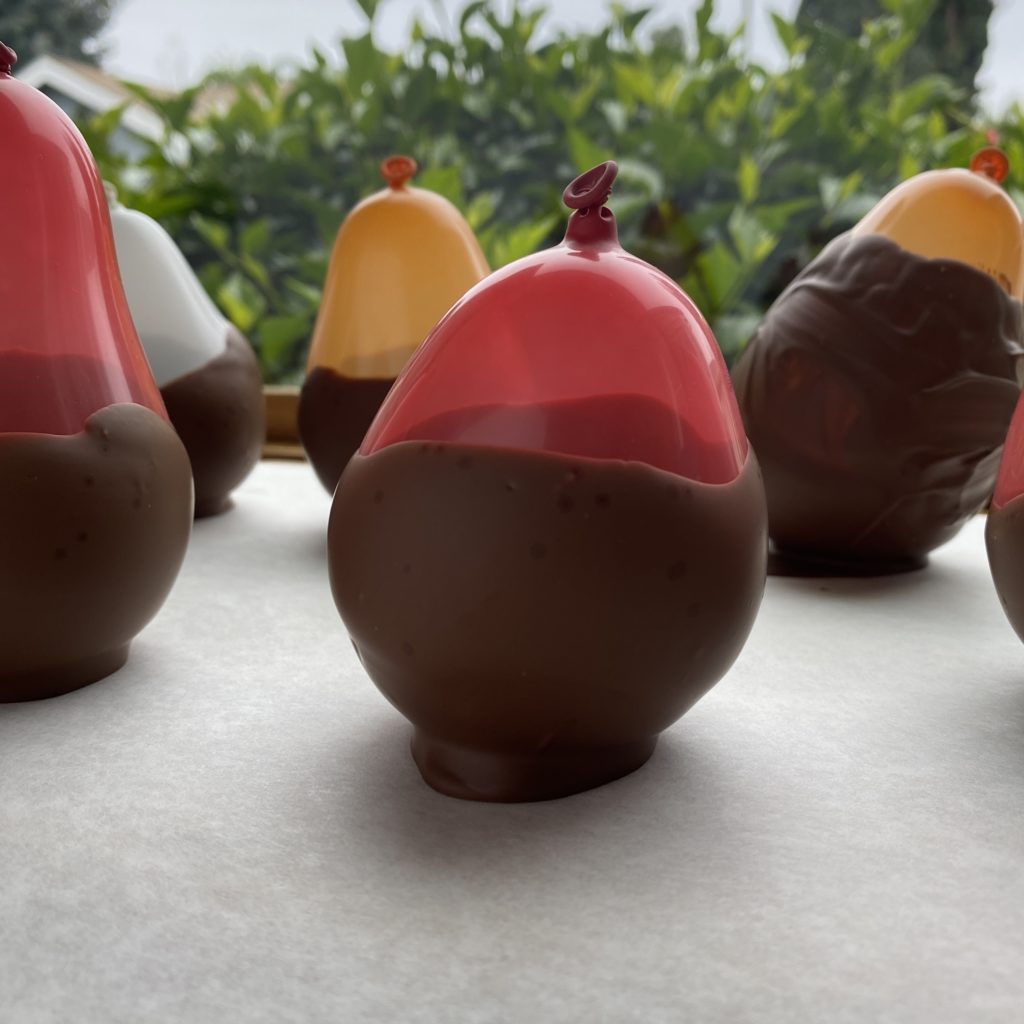
Prepare a tray with some parchment paper on it. To create the chocolate cups simply take a water small balloon and place it in the melted chocolate bowl. Slowly bend it side to side to coat half of the balloon with chocolate. Remove the balloon from the chocolate bowl and place it on the parchment paper. You will see that the chocolate will stick and hold the balloon. Keep going to coat all the water mini ballons and create the chocolate cups.

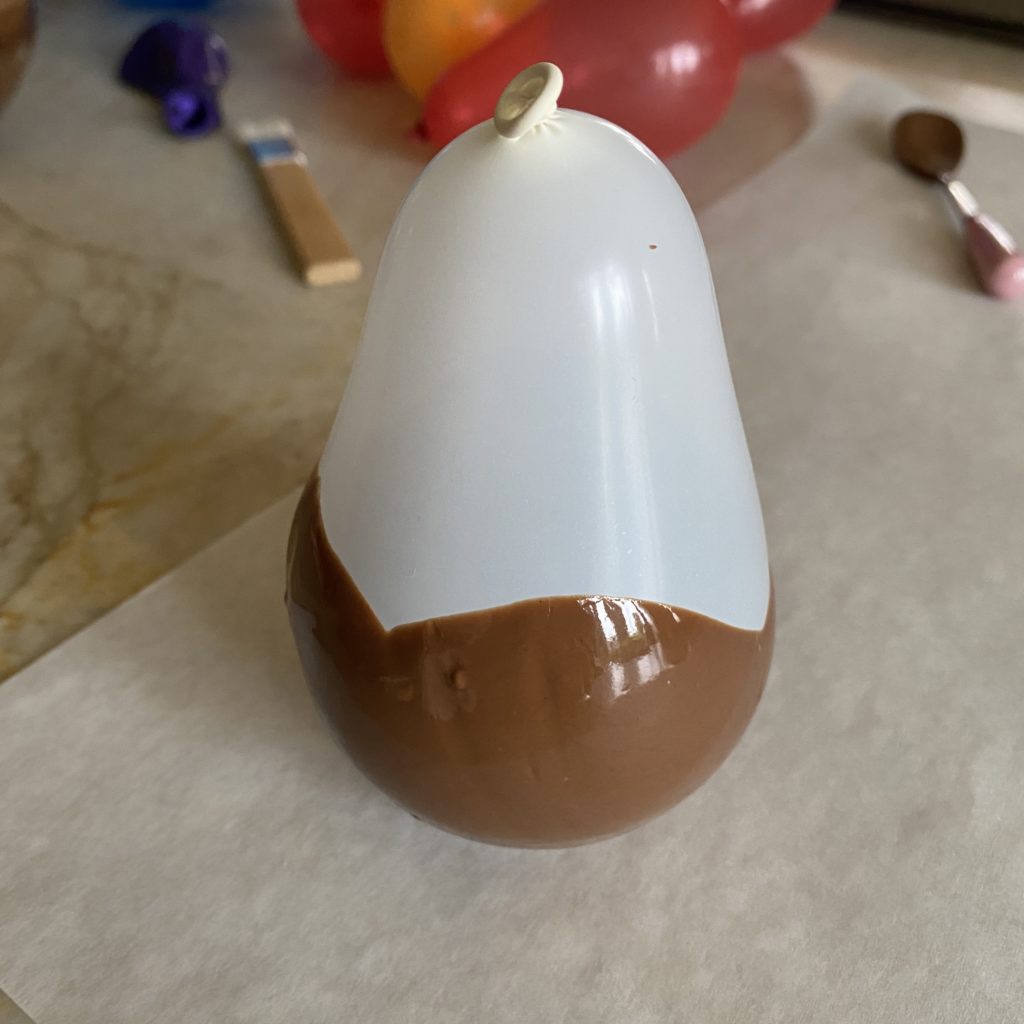
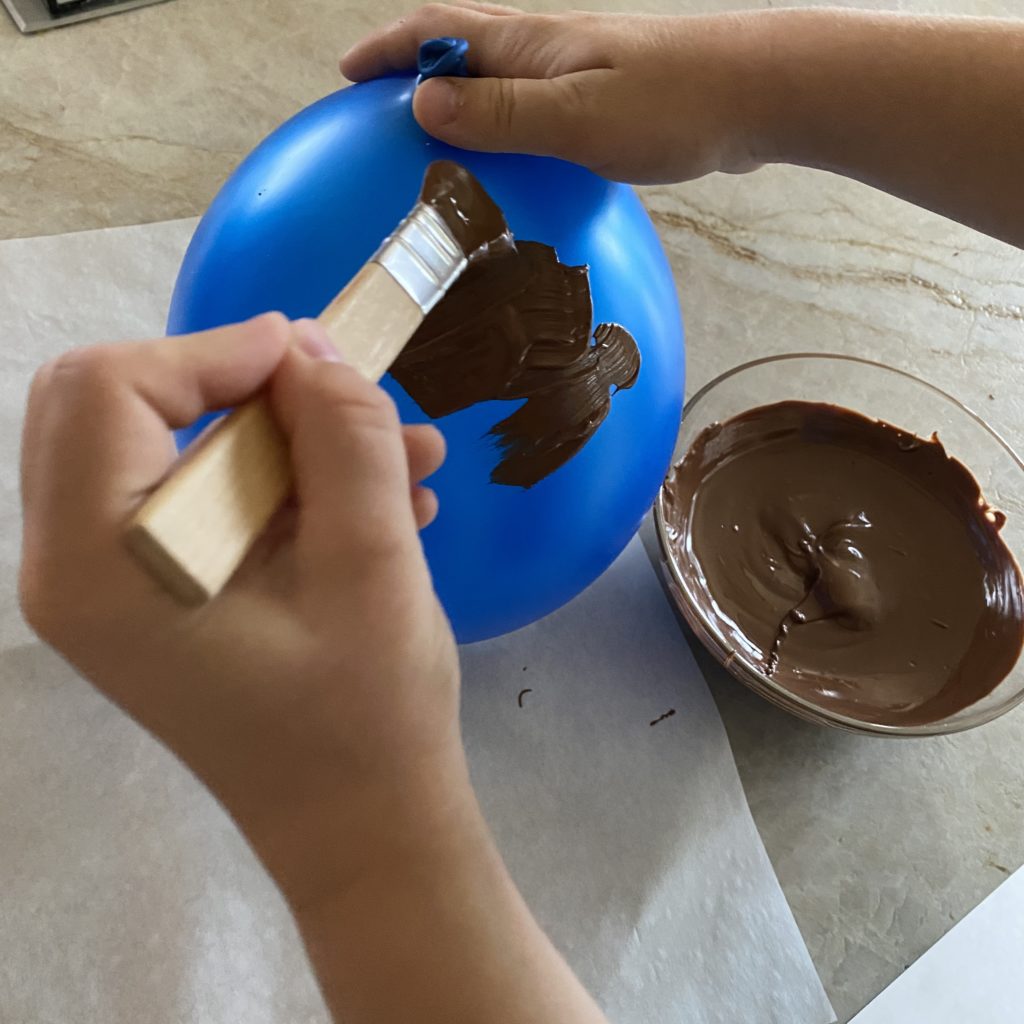
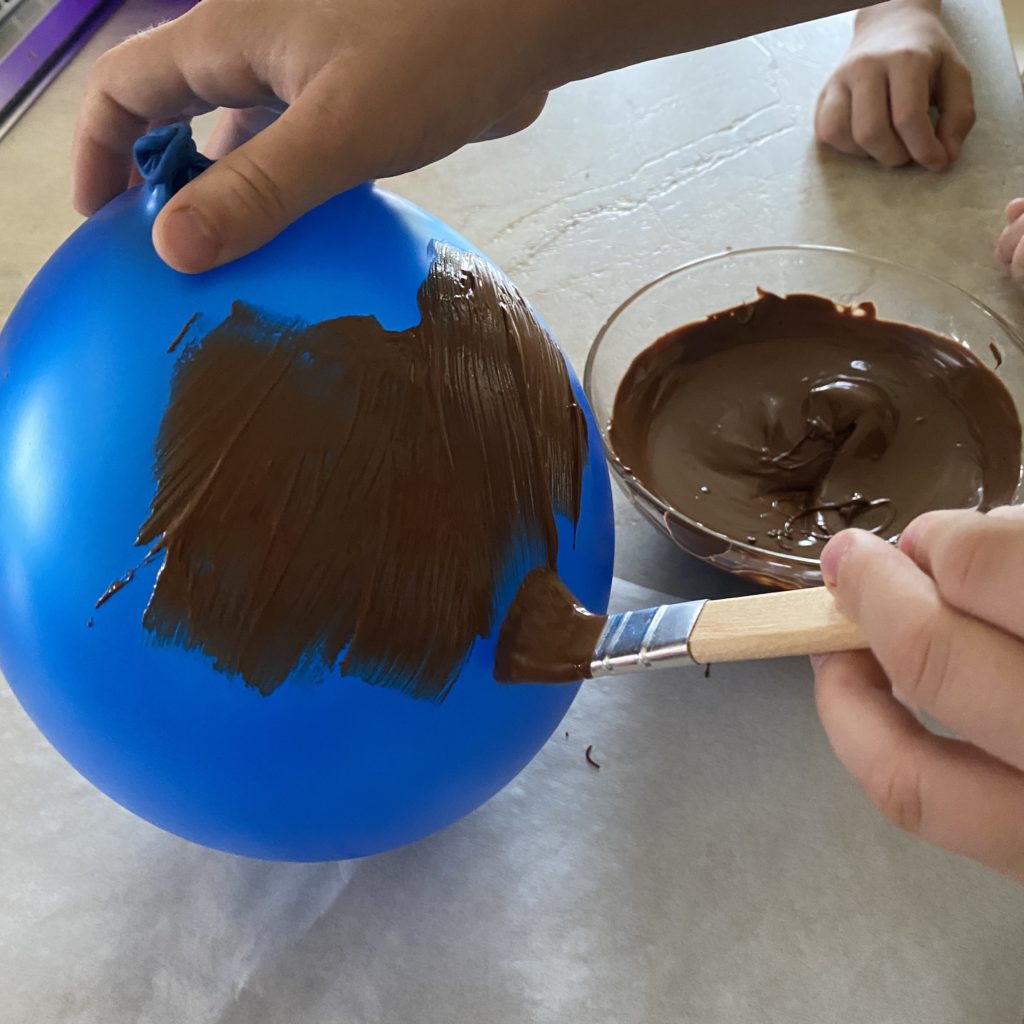
Kids and Toddlers. The kids can have fun coating the water balloons. It’s an easy phase. You can also give them a cooking brush (a small one I would suggest) and they can chocolate paint the balloon. That works too!
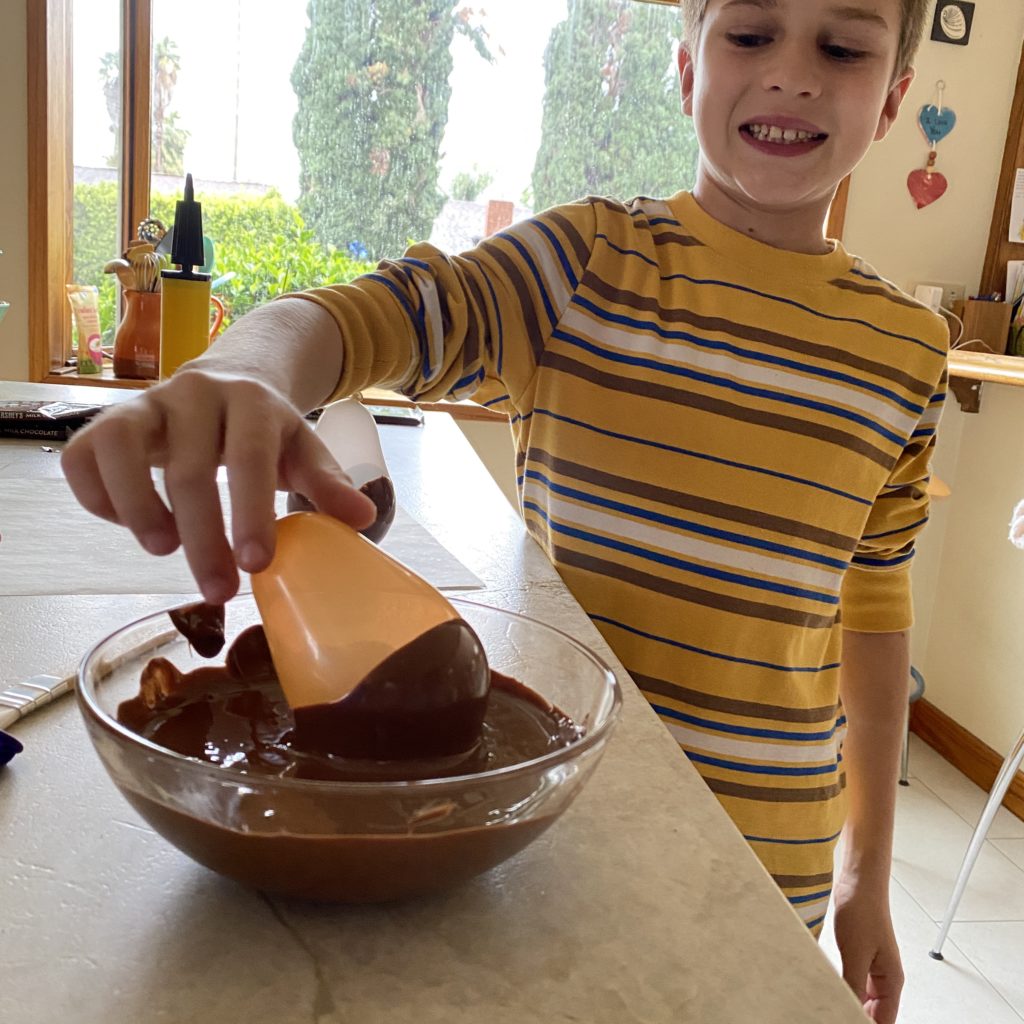
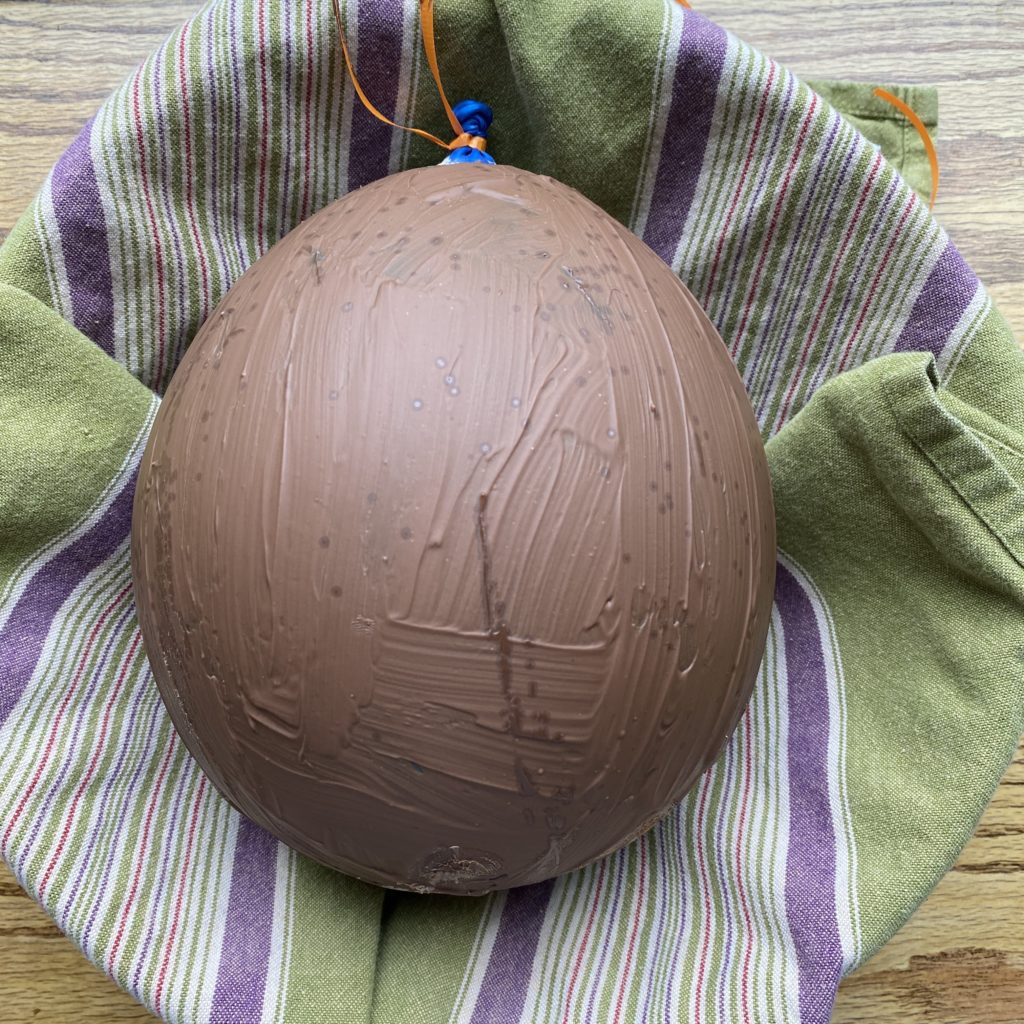
Now it’s time for the Big Chocolate Egg. You will use a regular size big balloon. I attached a string to the top to make things easier. In this case, being the balloon bigger than the melted chocolate bowl, we used the brushes. Every kid had a brush. I was holding the balloon from the top on top of a parchment paper to reduce the chocolate mess 🙂
Brush after brush we ended up covering the whole surface of the balloon. I helped with the final touches. I suggest THREE thick coats of chocolate otherwise it will break once dried up.
We tried with one coat only and, sigh, it collapsed!!
Three coats will give you a thick enough egg that will hold.
Brush the first coat, wait 10 min so that the second coat will hold well. Wait another 10/15 min and proceed with the third coat.
Now it’s time to play with the extra balloons and let the chocolate ones dry. I let the chocolate dry overnight in the coldest room of the house. I would suggest to place the chocolate balloons away from sources of heat like sunny windows or the heating vents…or they will melt 🙂
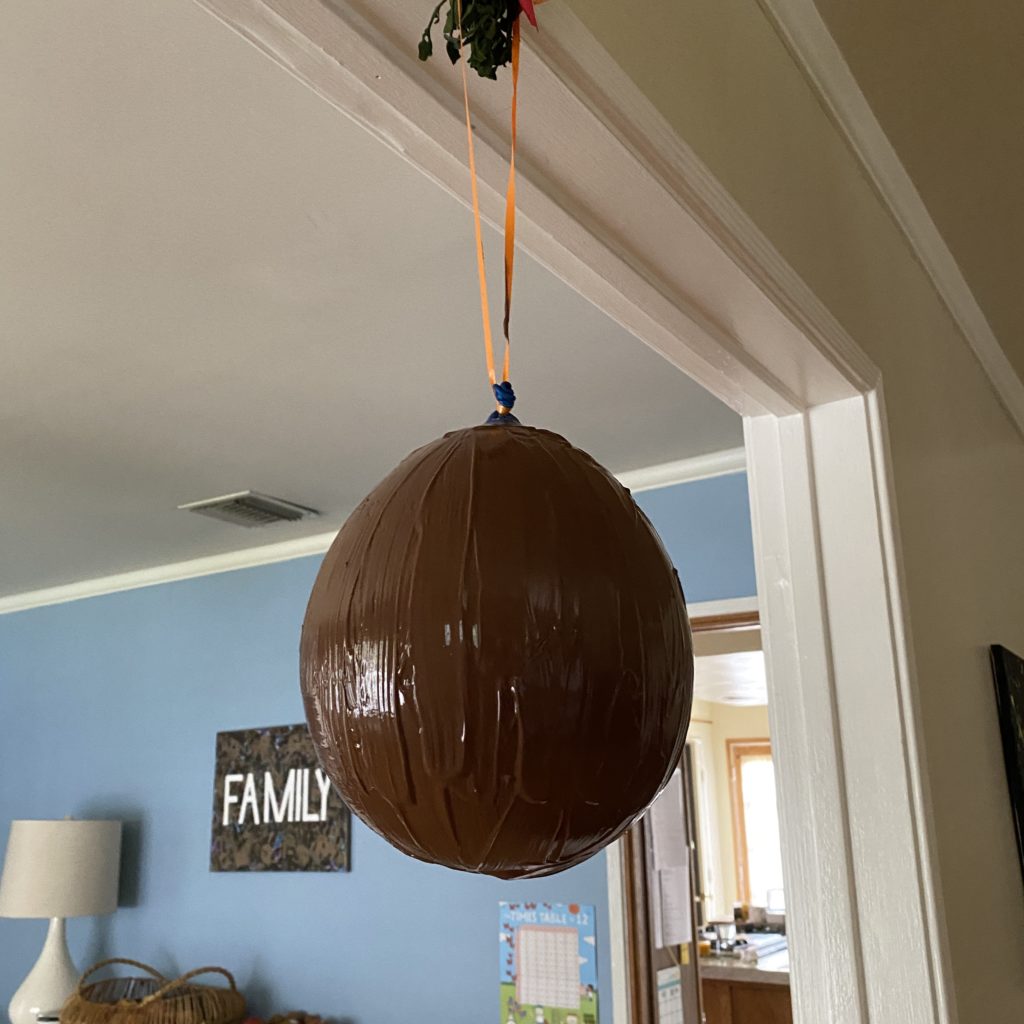
For the big chocolate egg I hanged it at the ceiling with the string.
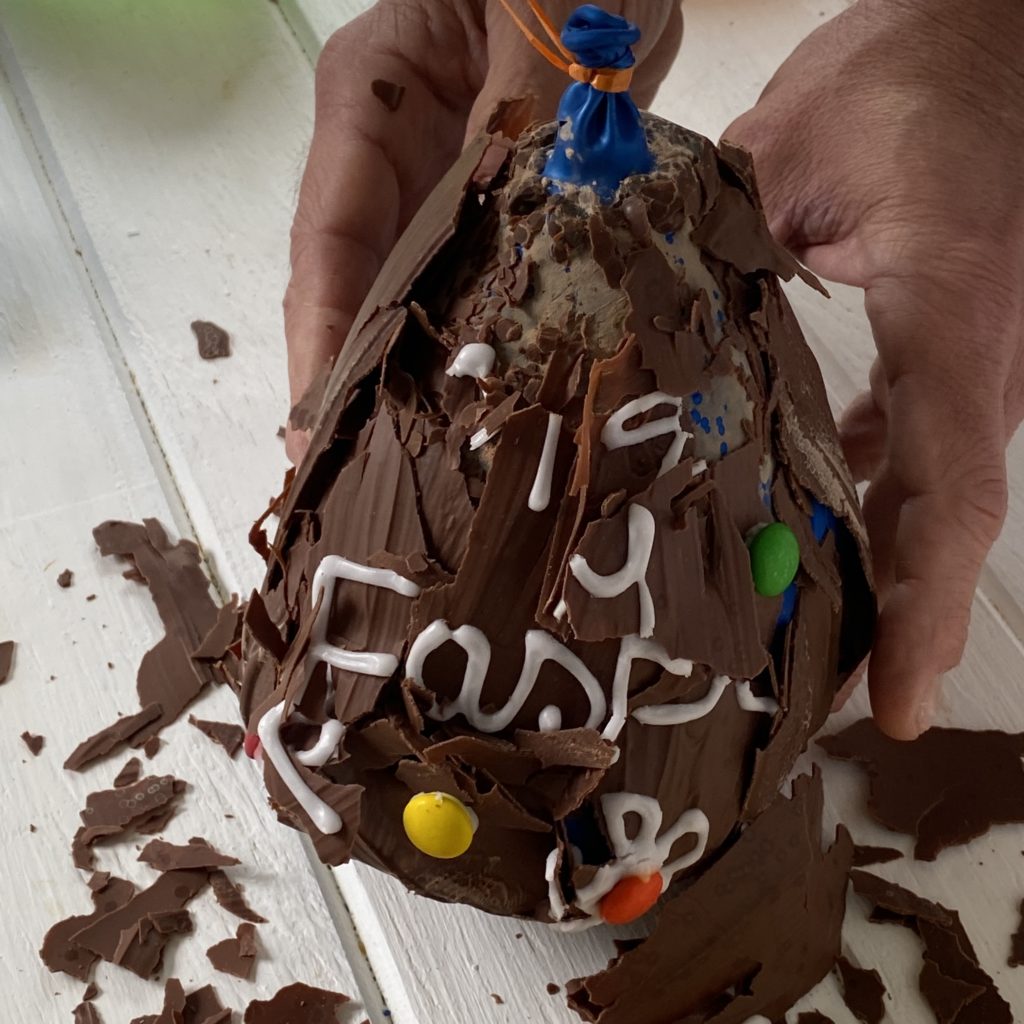
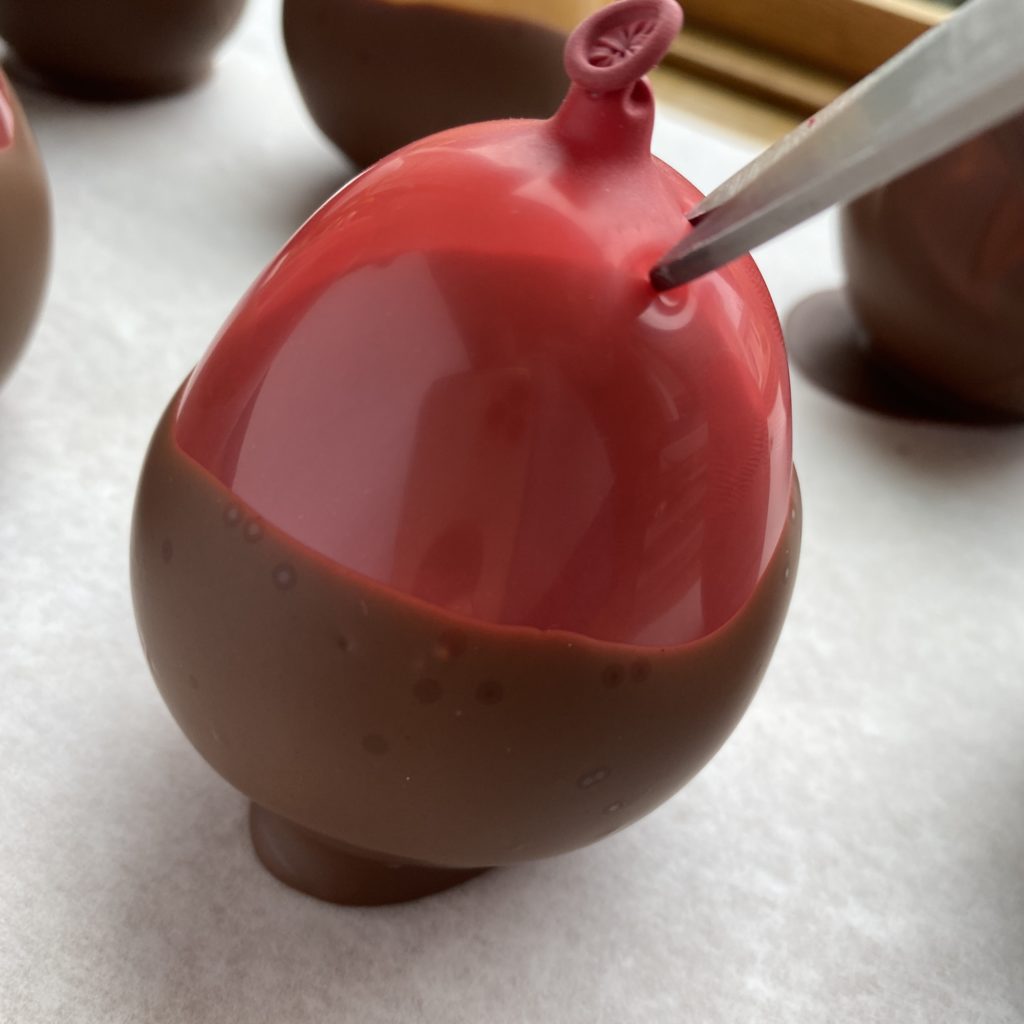
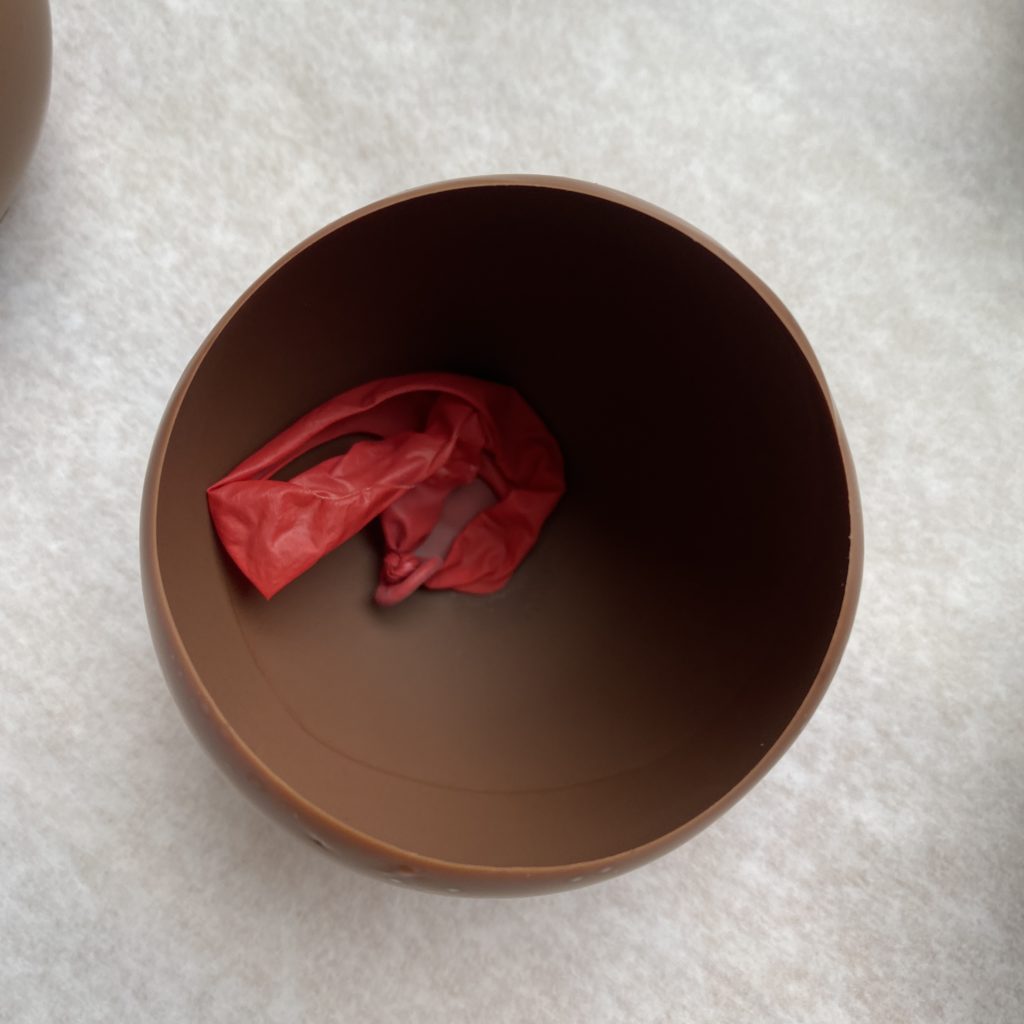
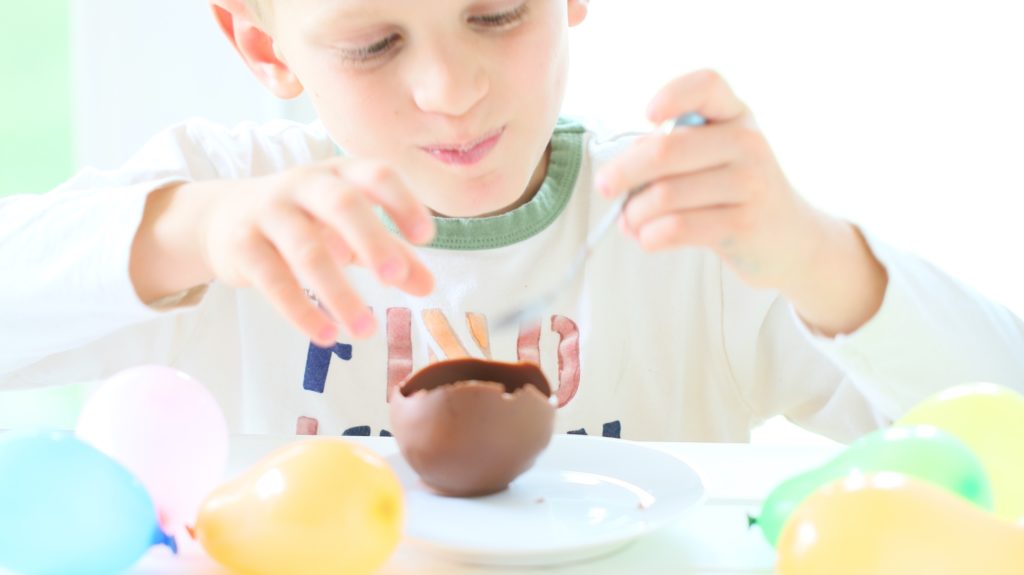
When the chocolate is fully dry (test it delicately with your finger) it’s time to pop the balloons. The kids will love doing it! The easiest way is using a scissor. Pinch the balloon on top and, with no scary pop, they will simply collapse inside.
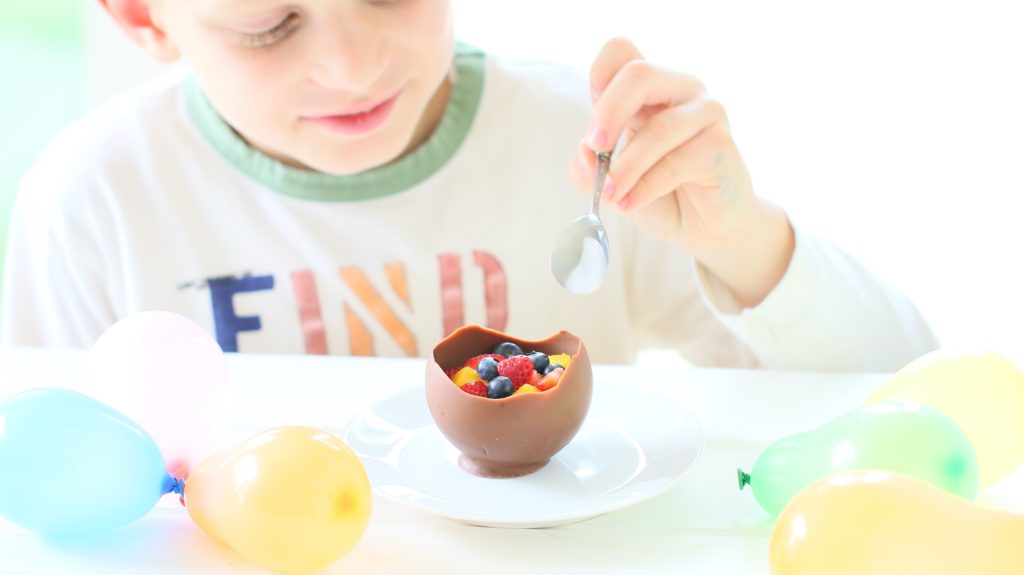
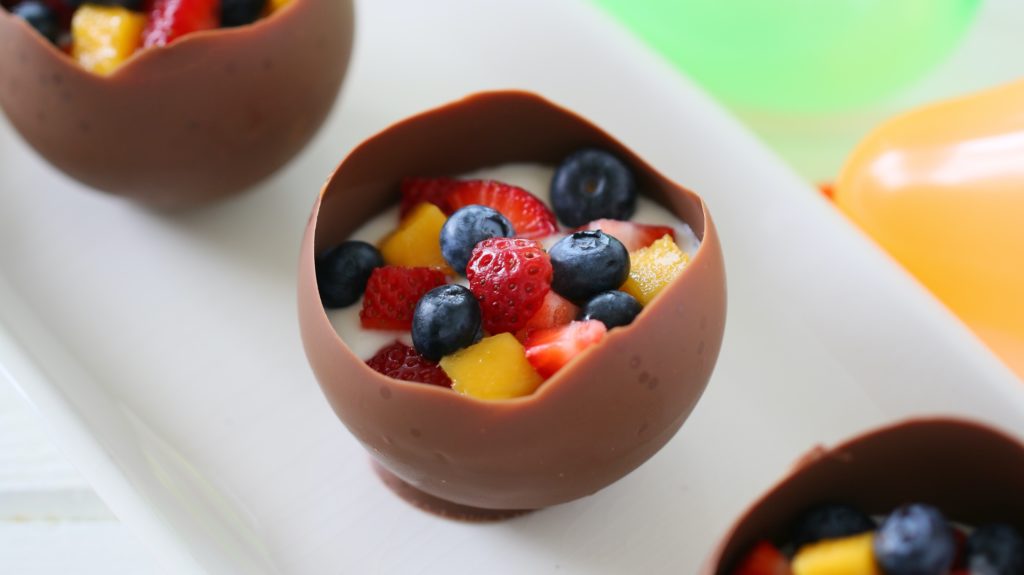
Chocolate cups. You can enjoy them in many ways!
- simply like that, one bite at the time 🙂
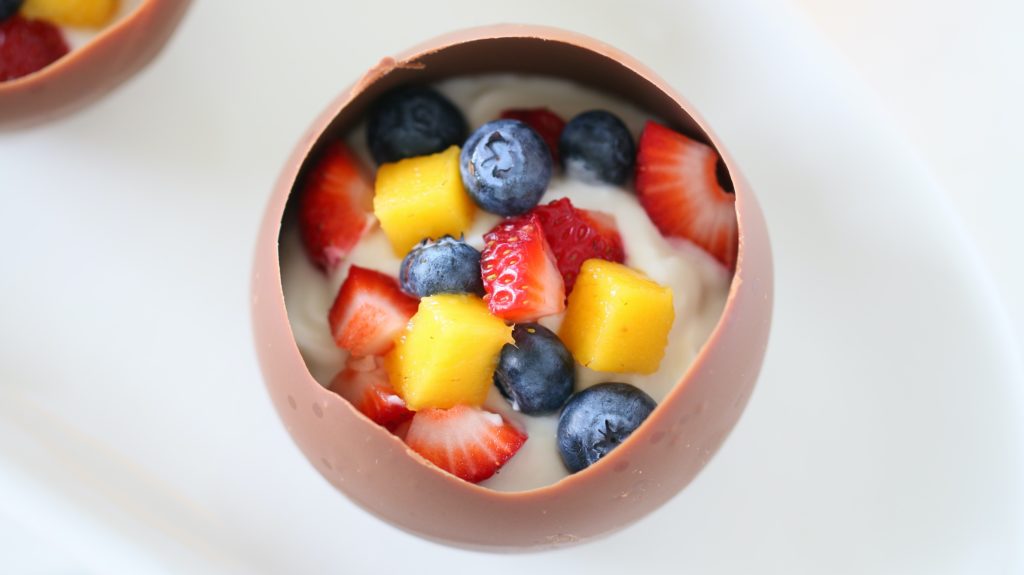
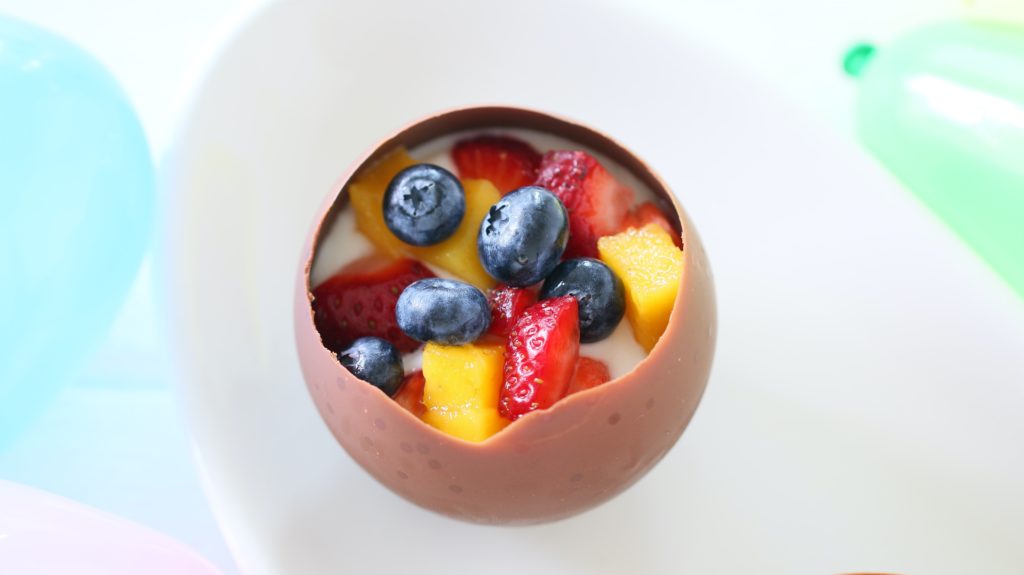
- fill them with yogurt and top with fresh fruit like we did
- for a more decadent option you can fill the cups with custard or whipped cream and top with crushed nuts
- a more fruity option can be a filling of apple sauce and a topping of fresh fruit
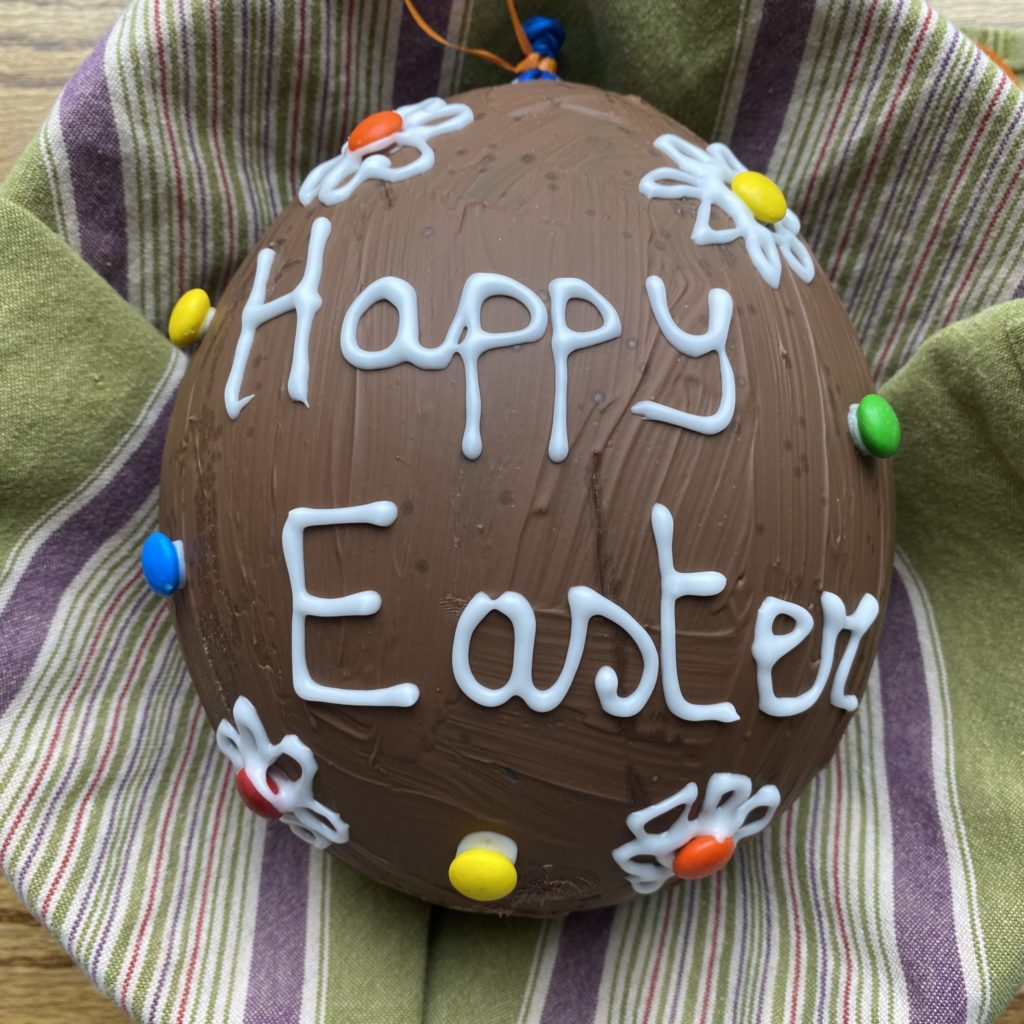
Big Chocolate Egg.
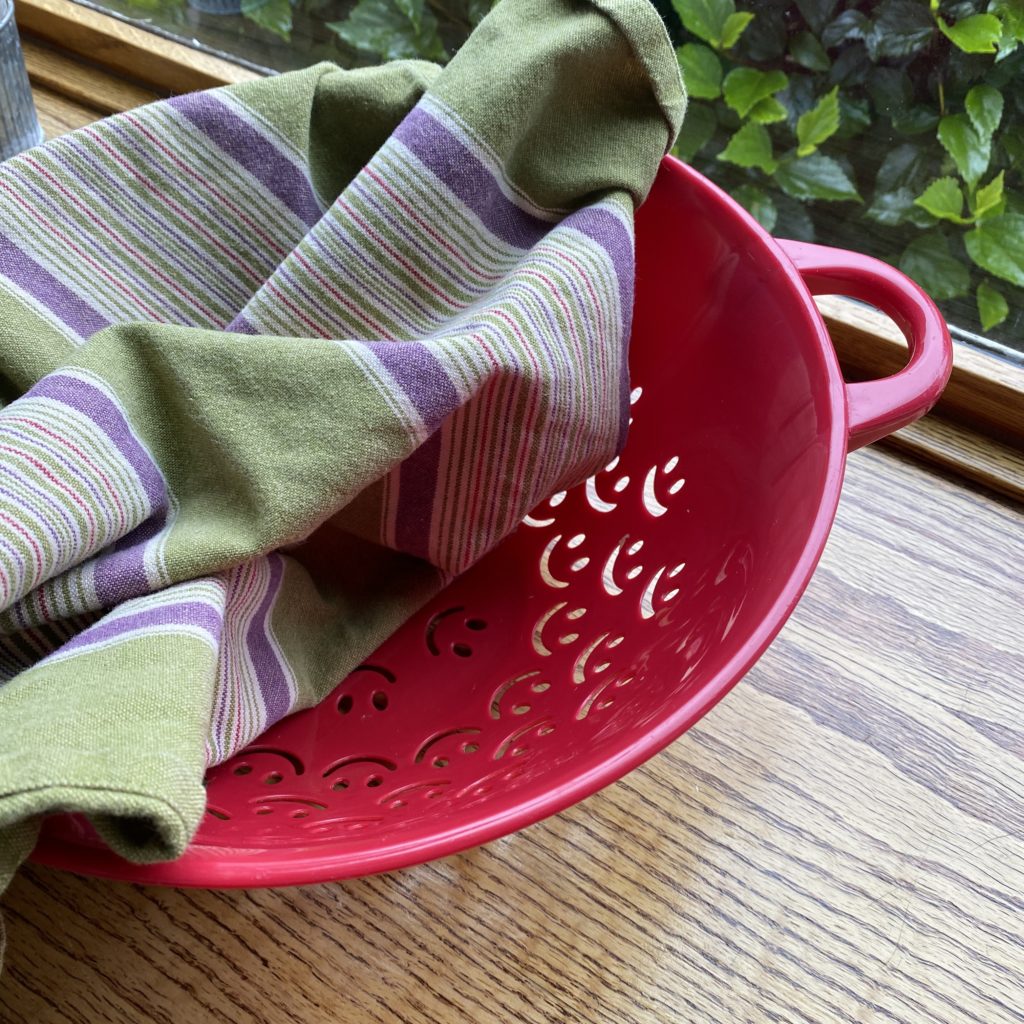
- to decorate I placed the delicate egg still inflated in a colander covered with a kitchen cloth.
- I used two tablespoons of powdered sugar mixed with 1 tsp water to create a white ink. I placed it in a small plastic bag, made a tiny cut in one corner and used it as a pen to write on the chocolate balloon.
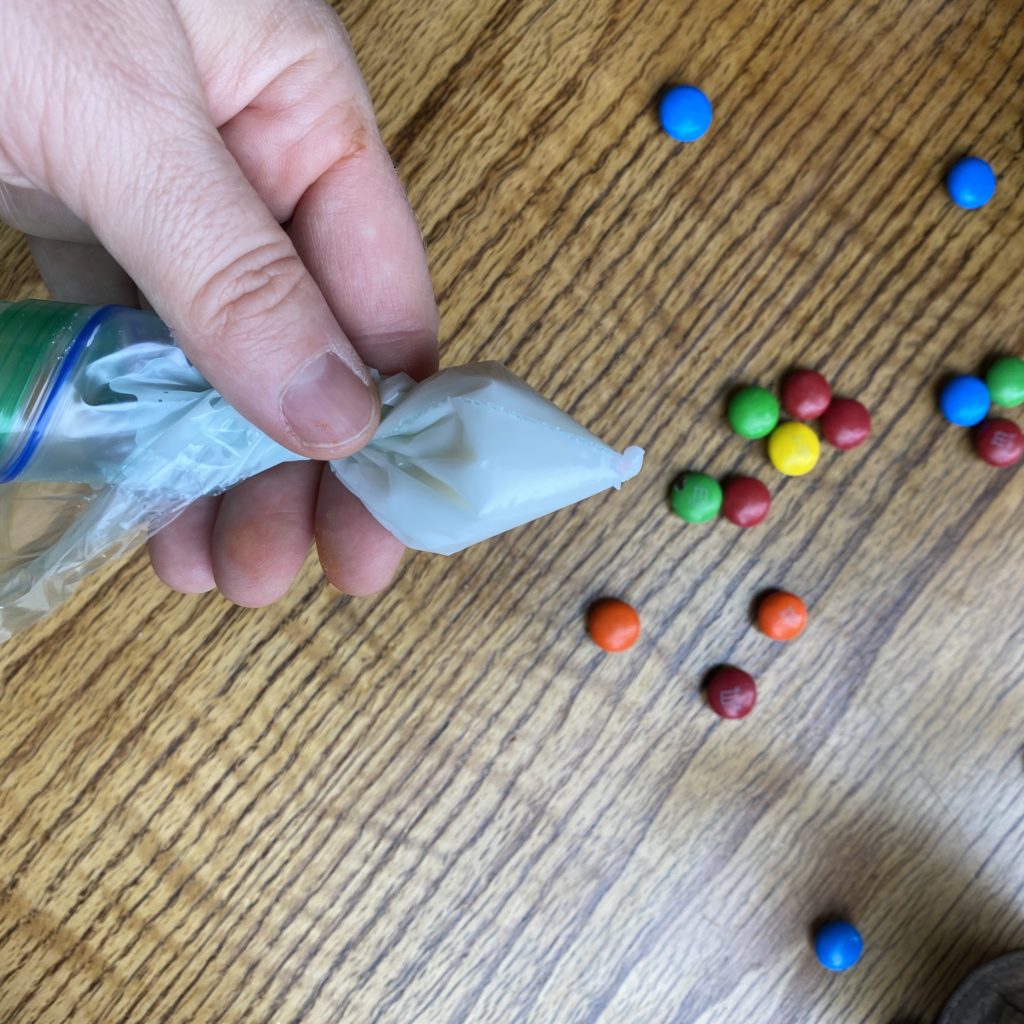
- The white sugary icing also served as glue for my chocolate colored candies.
- Most important thing. HAVE FUN with the decoration!! There is no best practice.
Let your kids decide how to fill them!!
I really hope you will enjoy preparing the Chocolate Cups and the Chocolate Easter Egg with your kids. I wish you and your loved ones a lovely Easter or Passover. Stay safe!!
More from my site
 Bakery Chocolate Muffins
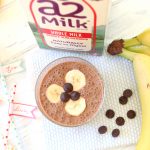
- Chocolate Banana Smoothie with a2 Milk®
- Vegan chocolate mousse with cookies – Halloween
- Yogurt & Chocolate popsicle recipe
- Guilt Free Chocolate Brownies Recipe- healthy and vegan
- Chocolate Raspberry Tart – no bake
- Snowman cookies – Pretzel covered with chocolate
- Cinnamon Rolls with chocolate chips


No Comments
Did you make this recipe? Share the love, tag @buonapappa on Instagram and hashtag it #buonapappa I would love to see your creations!