One of my favorite Christmas traditions is giving a nice basket of homemade cookies to neighbors and friends. It is a very kind way to show that you care, that you used your time (so precious nowadays!!) to prepare something special for them. In addition to that EVERYBODY loves cookies, you cannot be wrong 😉
Baking cookies is not difficult at all and it can be a lot of fun most of all if you ask your kids to help you in the cookie cutter and decoration phase: you will create unusual and fun shapes!!
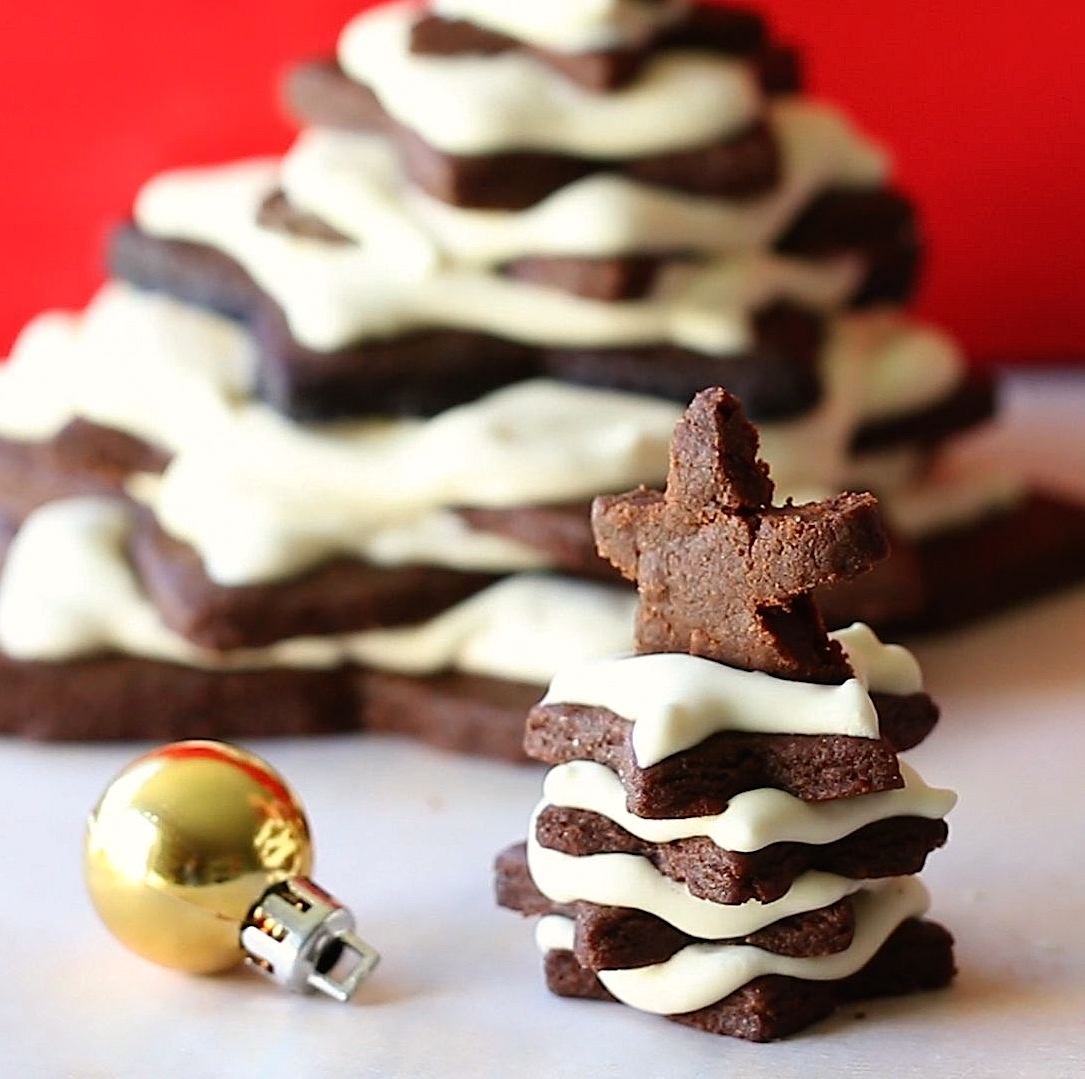
Today I used a family recipe for the cocoa cookies and a traditional Italian recipe for the sugar icing. I played a bit with the sizes of the Christmas trees. I started with the idea of having a big tall cookie Christmas tree and I ended up liking more the petite tree option: it’s cuter and it’s a one portion nice size. The big tall tree is perfect if you want to decorate the holiday table, but when it comes to eat it you will need to break it in pieces ;-(

Here you are the quantities for 2 big trees and 2 small ones. If you want to prepare only small trees you will be able to make 8/9
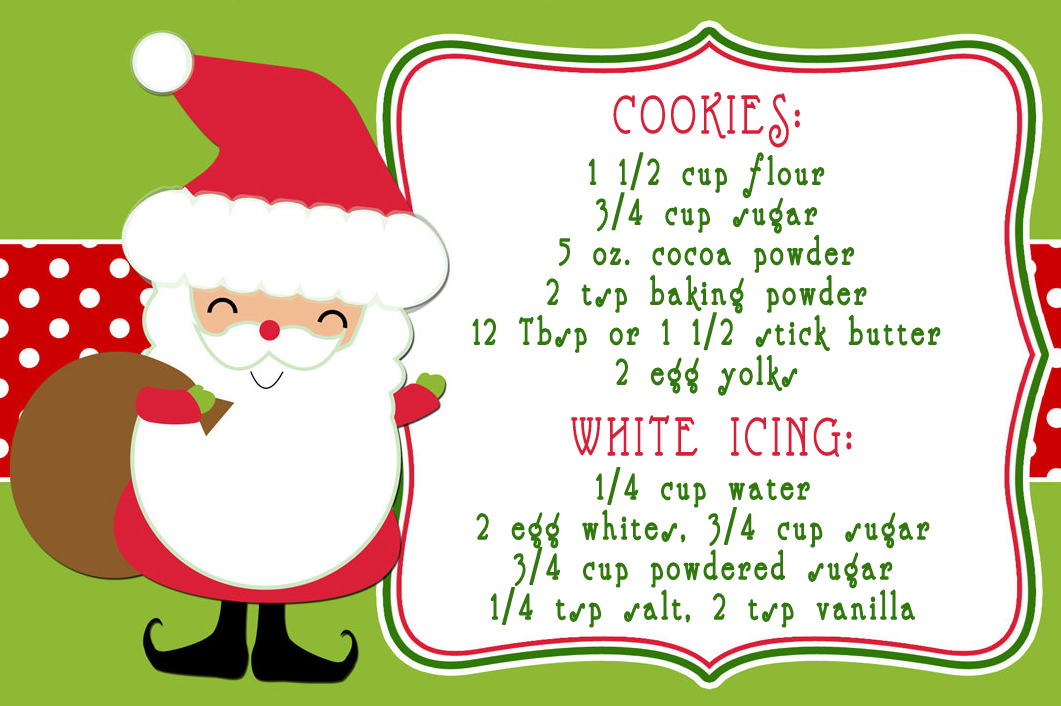
Let’s see together how to proceed:
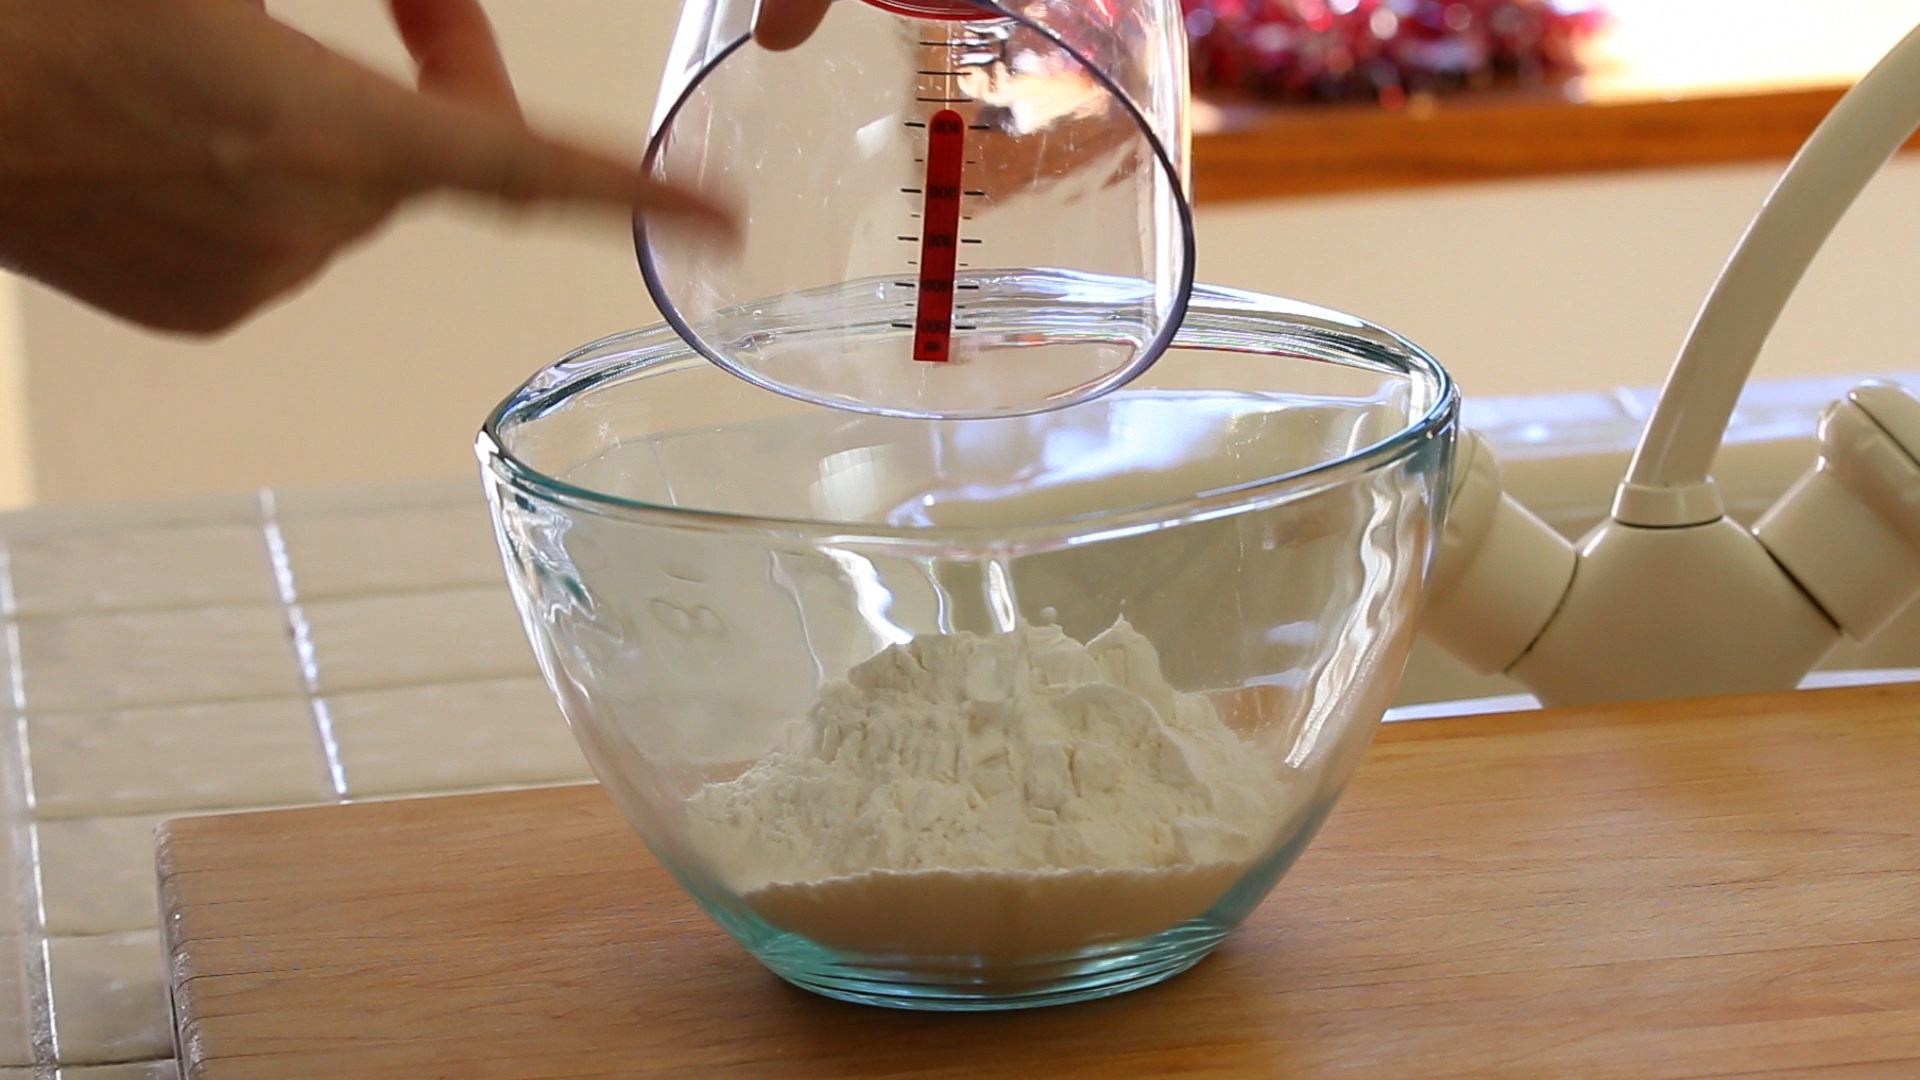
First thing we need to prepare the cookie dough. Easy!
– in a medium bowl mix together all the dry ingredients: flour, sugar, cocoa powder, baking powder.
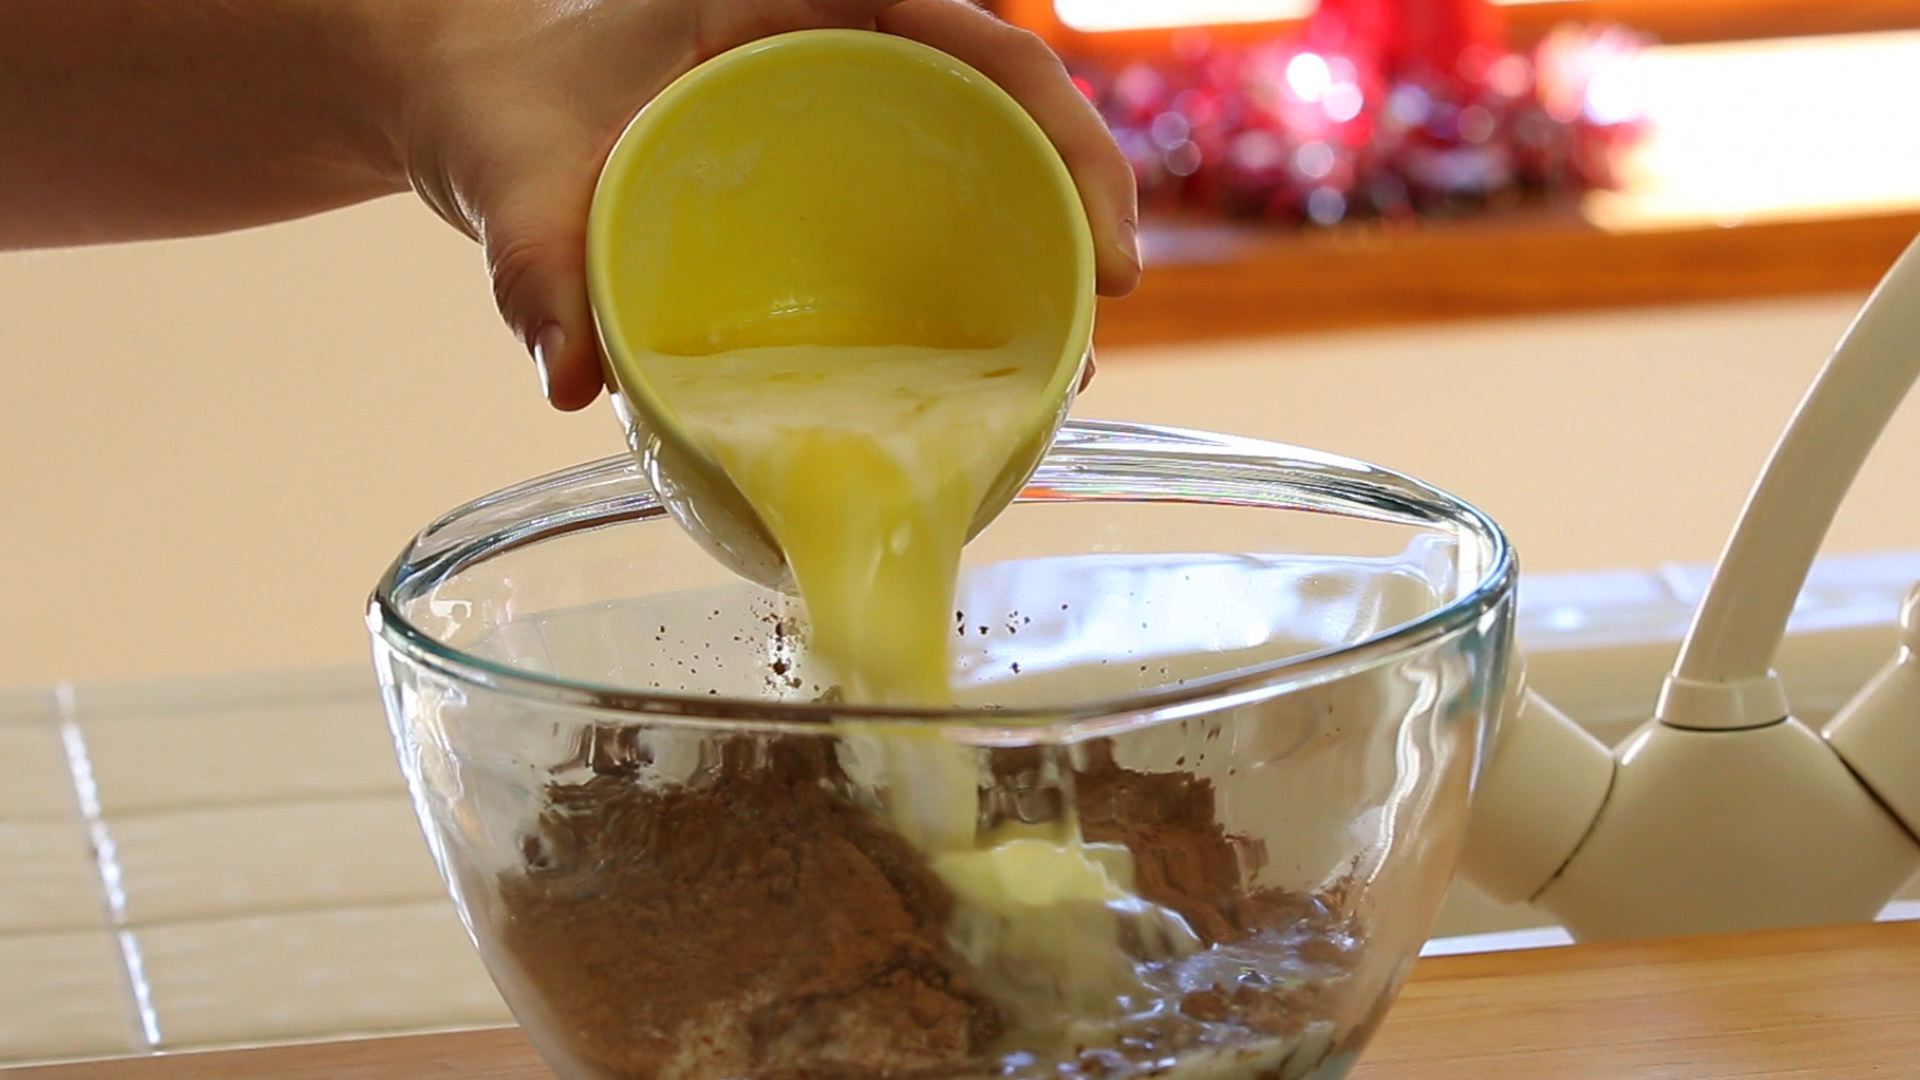
– add the wet ingredients: the melted butter and the egg yolks
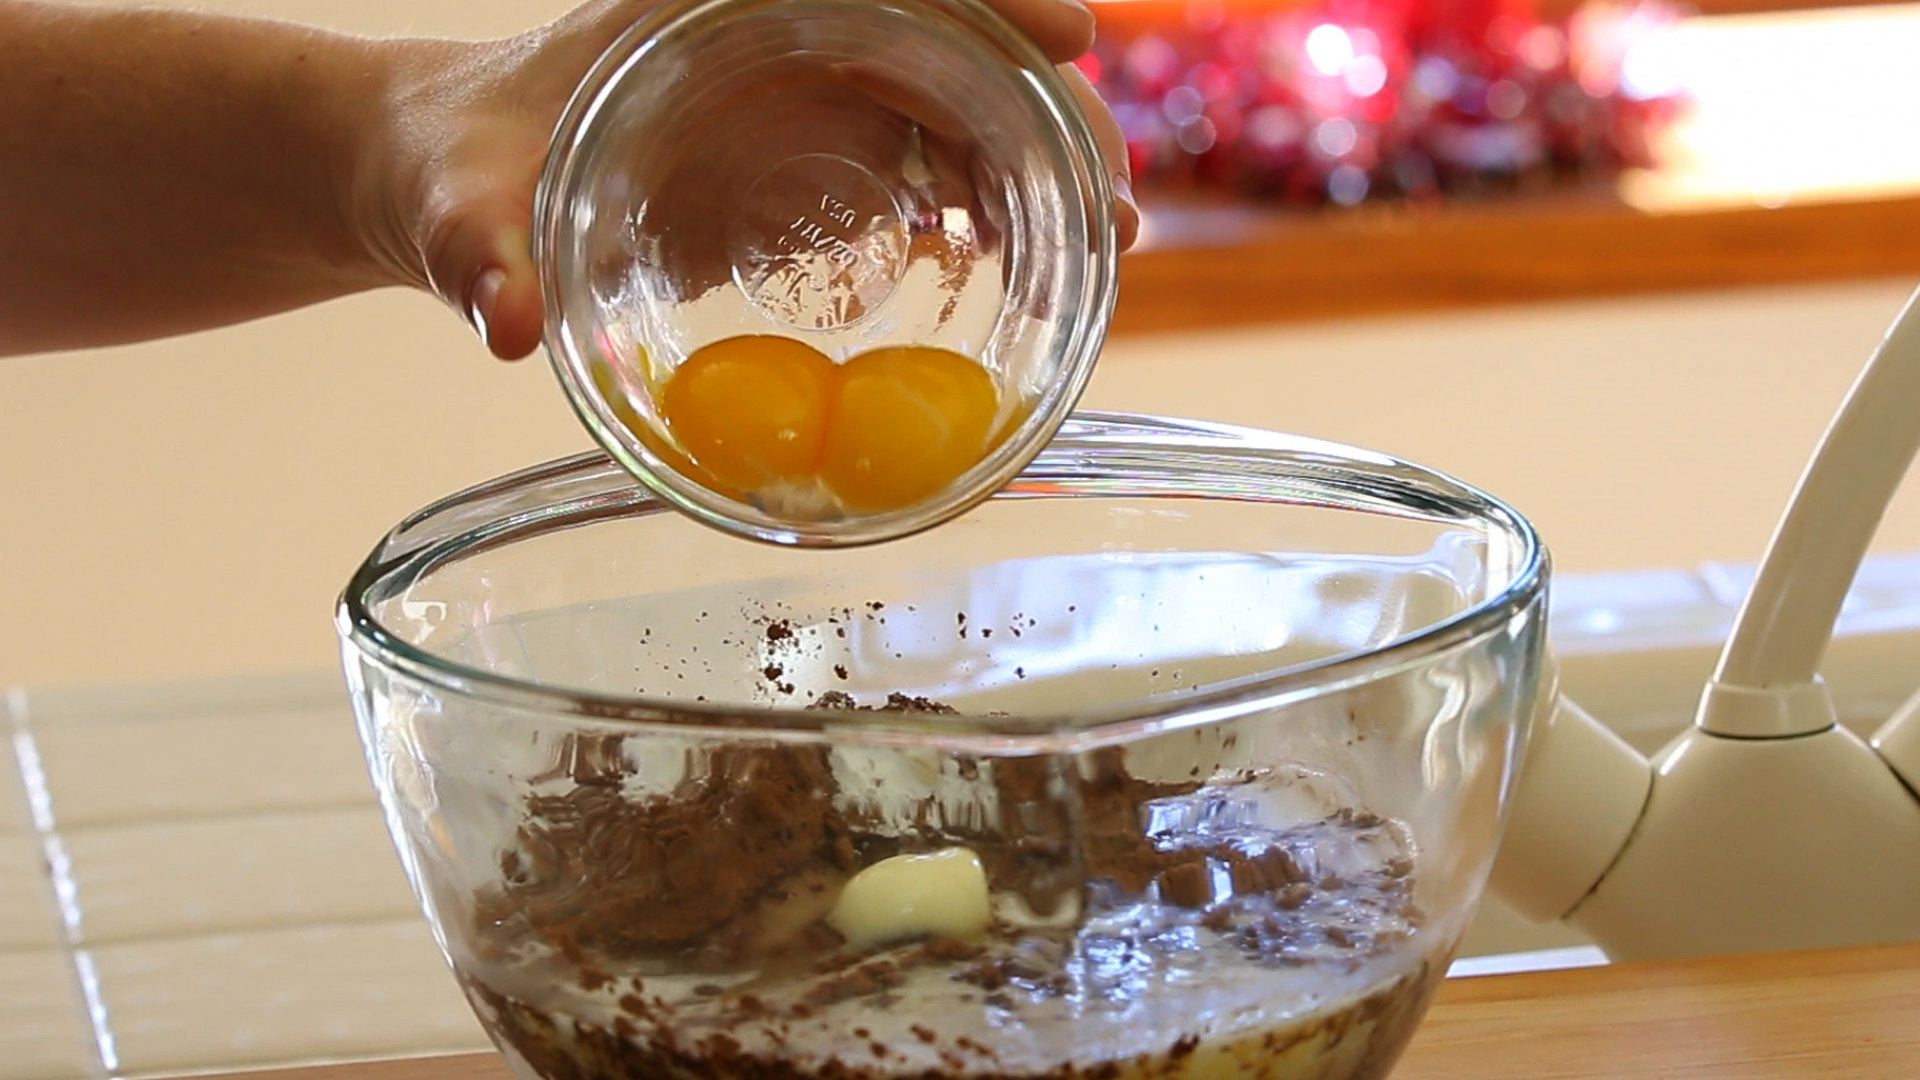
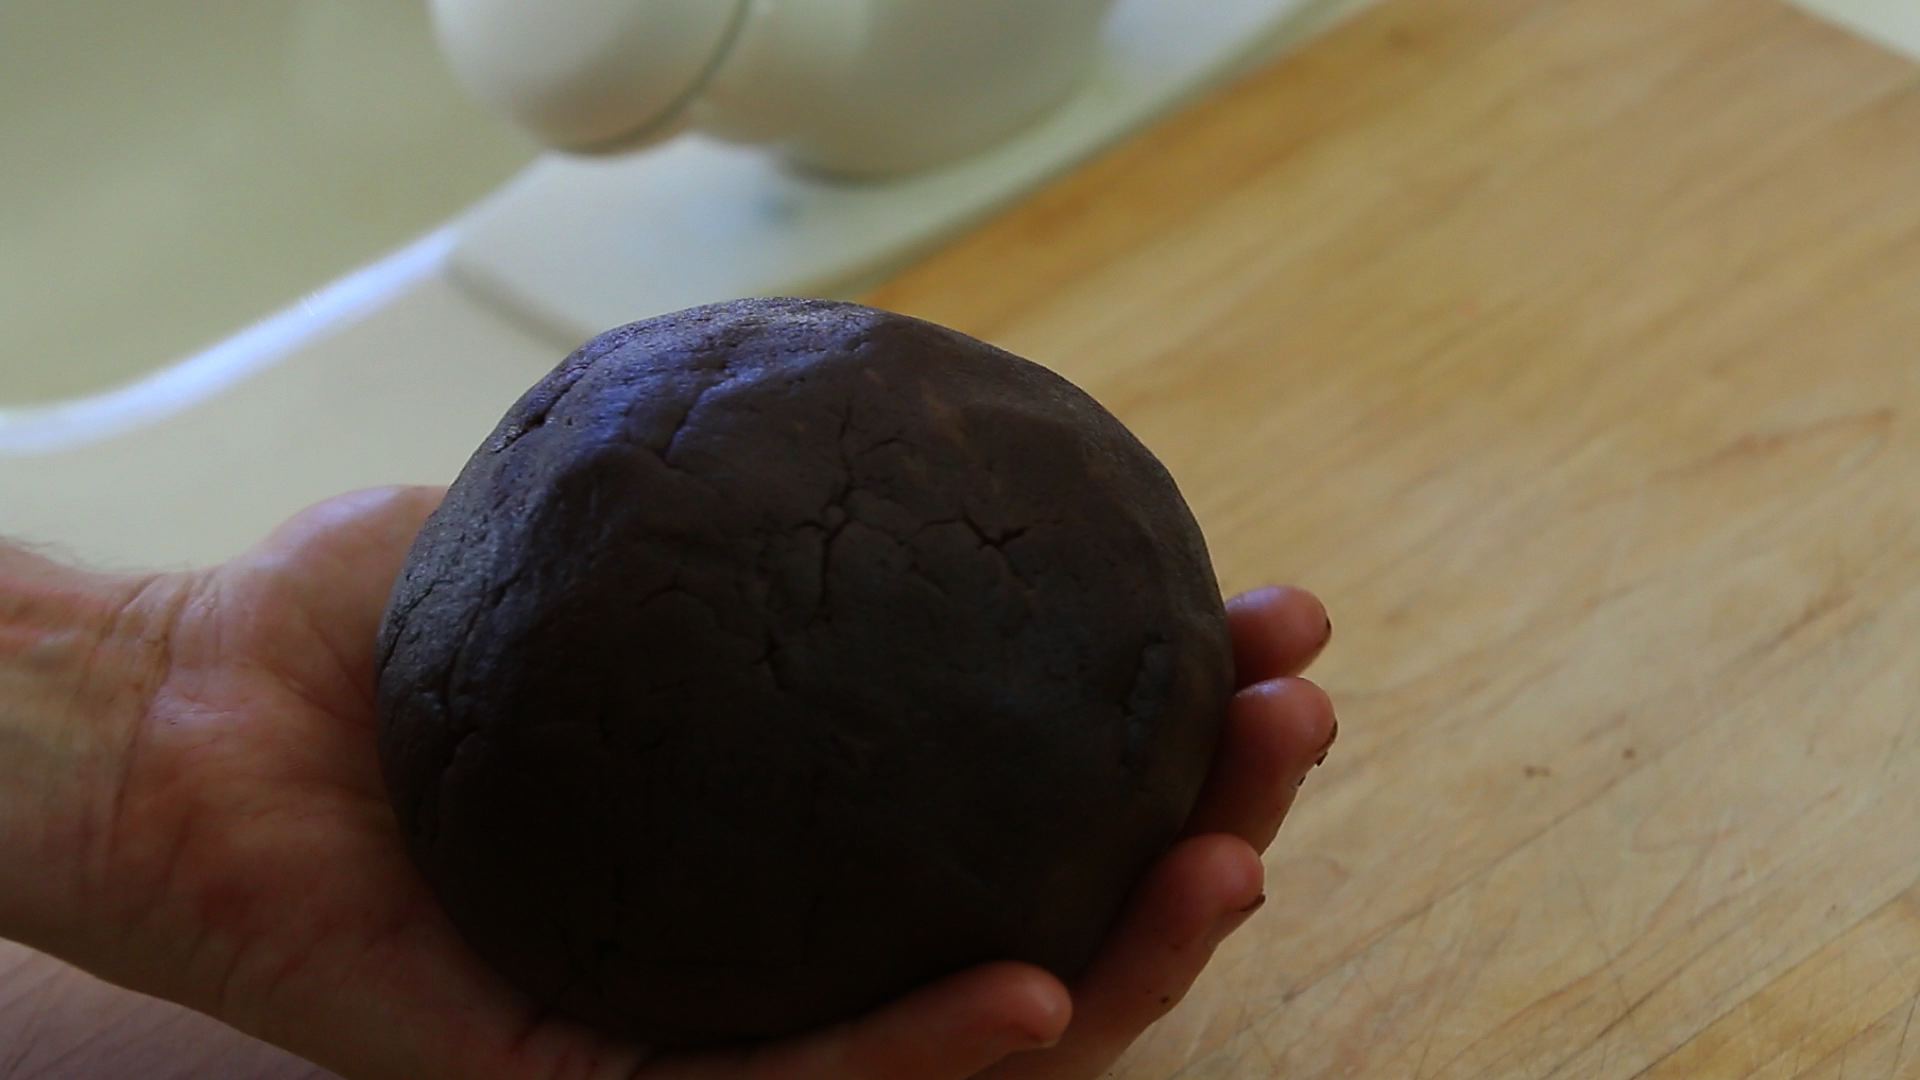
– mix everything with a fork. When the ingredients will start combining themselves in a crumbly dough, you can keep mixing with your hands up until you will obtain a nice chocolate ball.

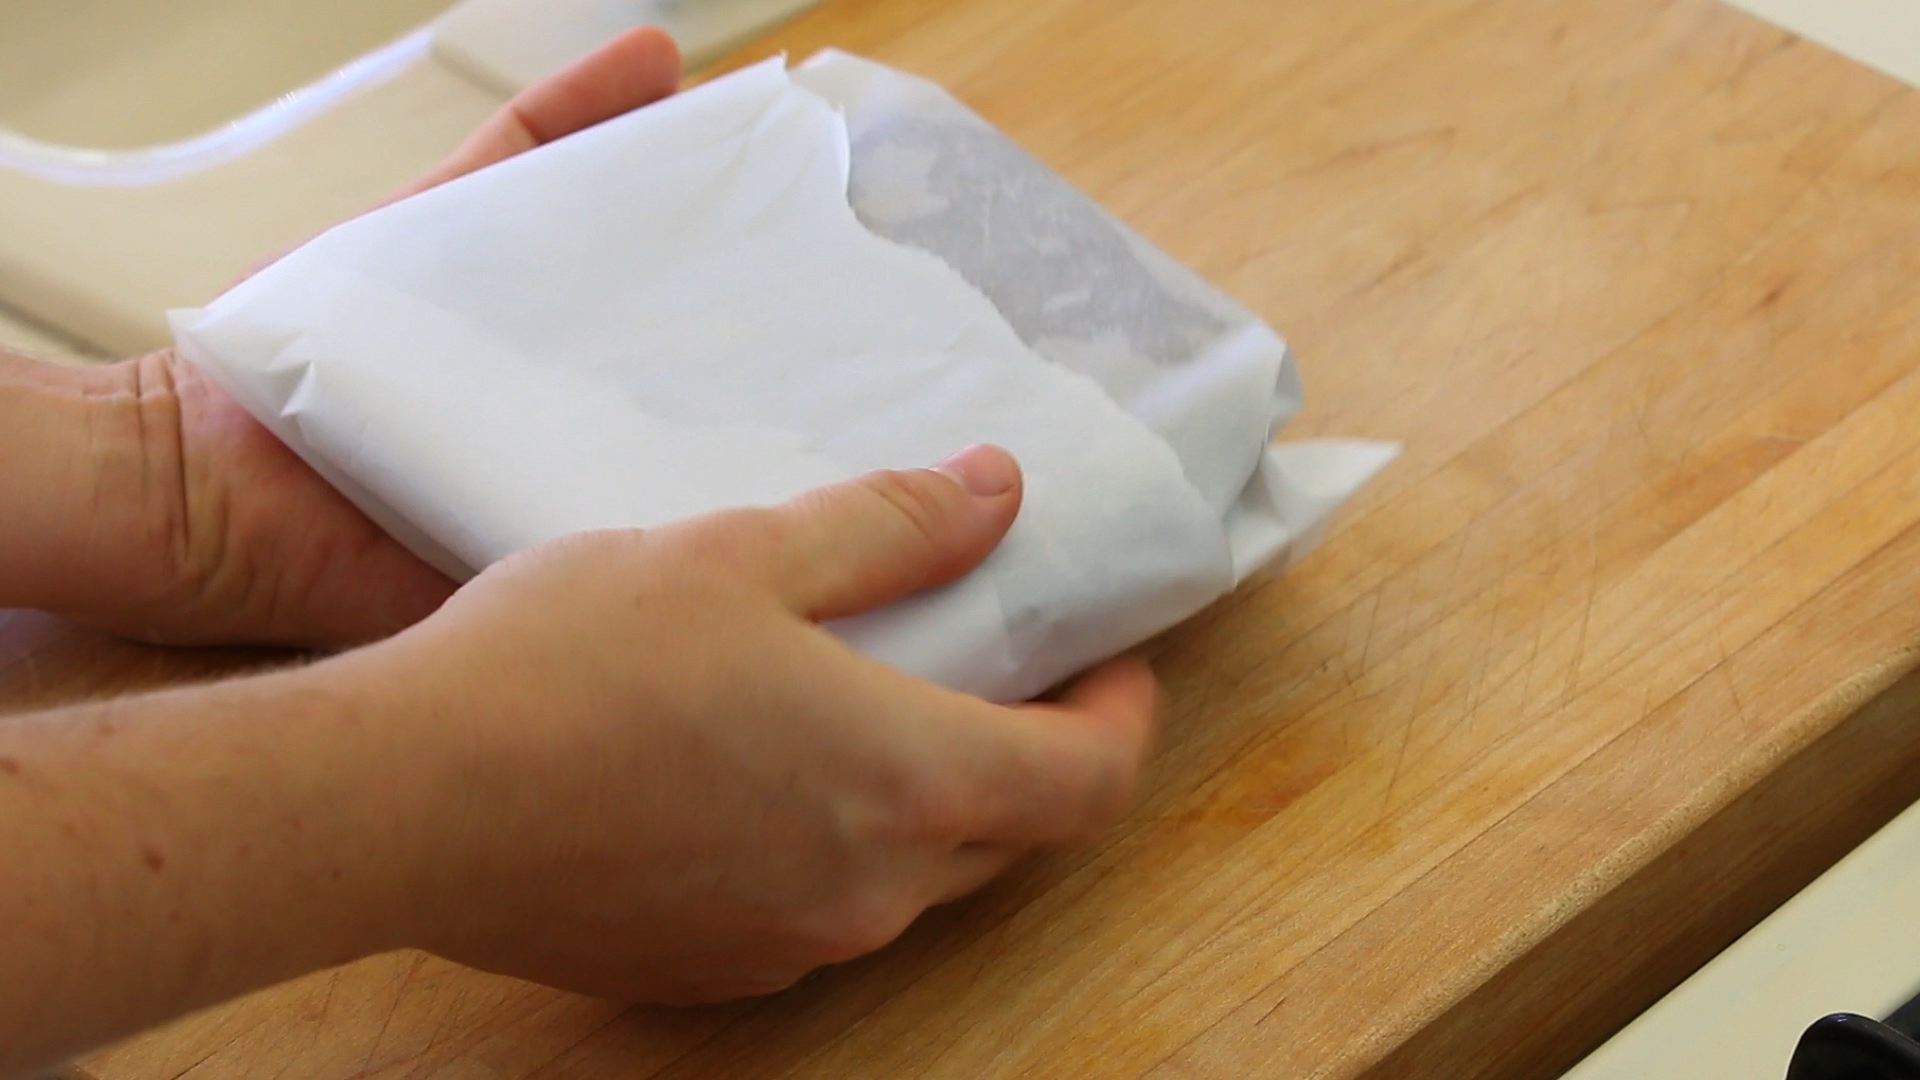
– cover the dough with some parchment paper and place the dough in the refrigerator for at least 30 minutes to get cold and compact.
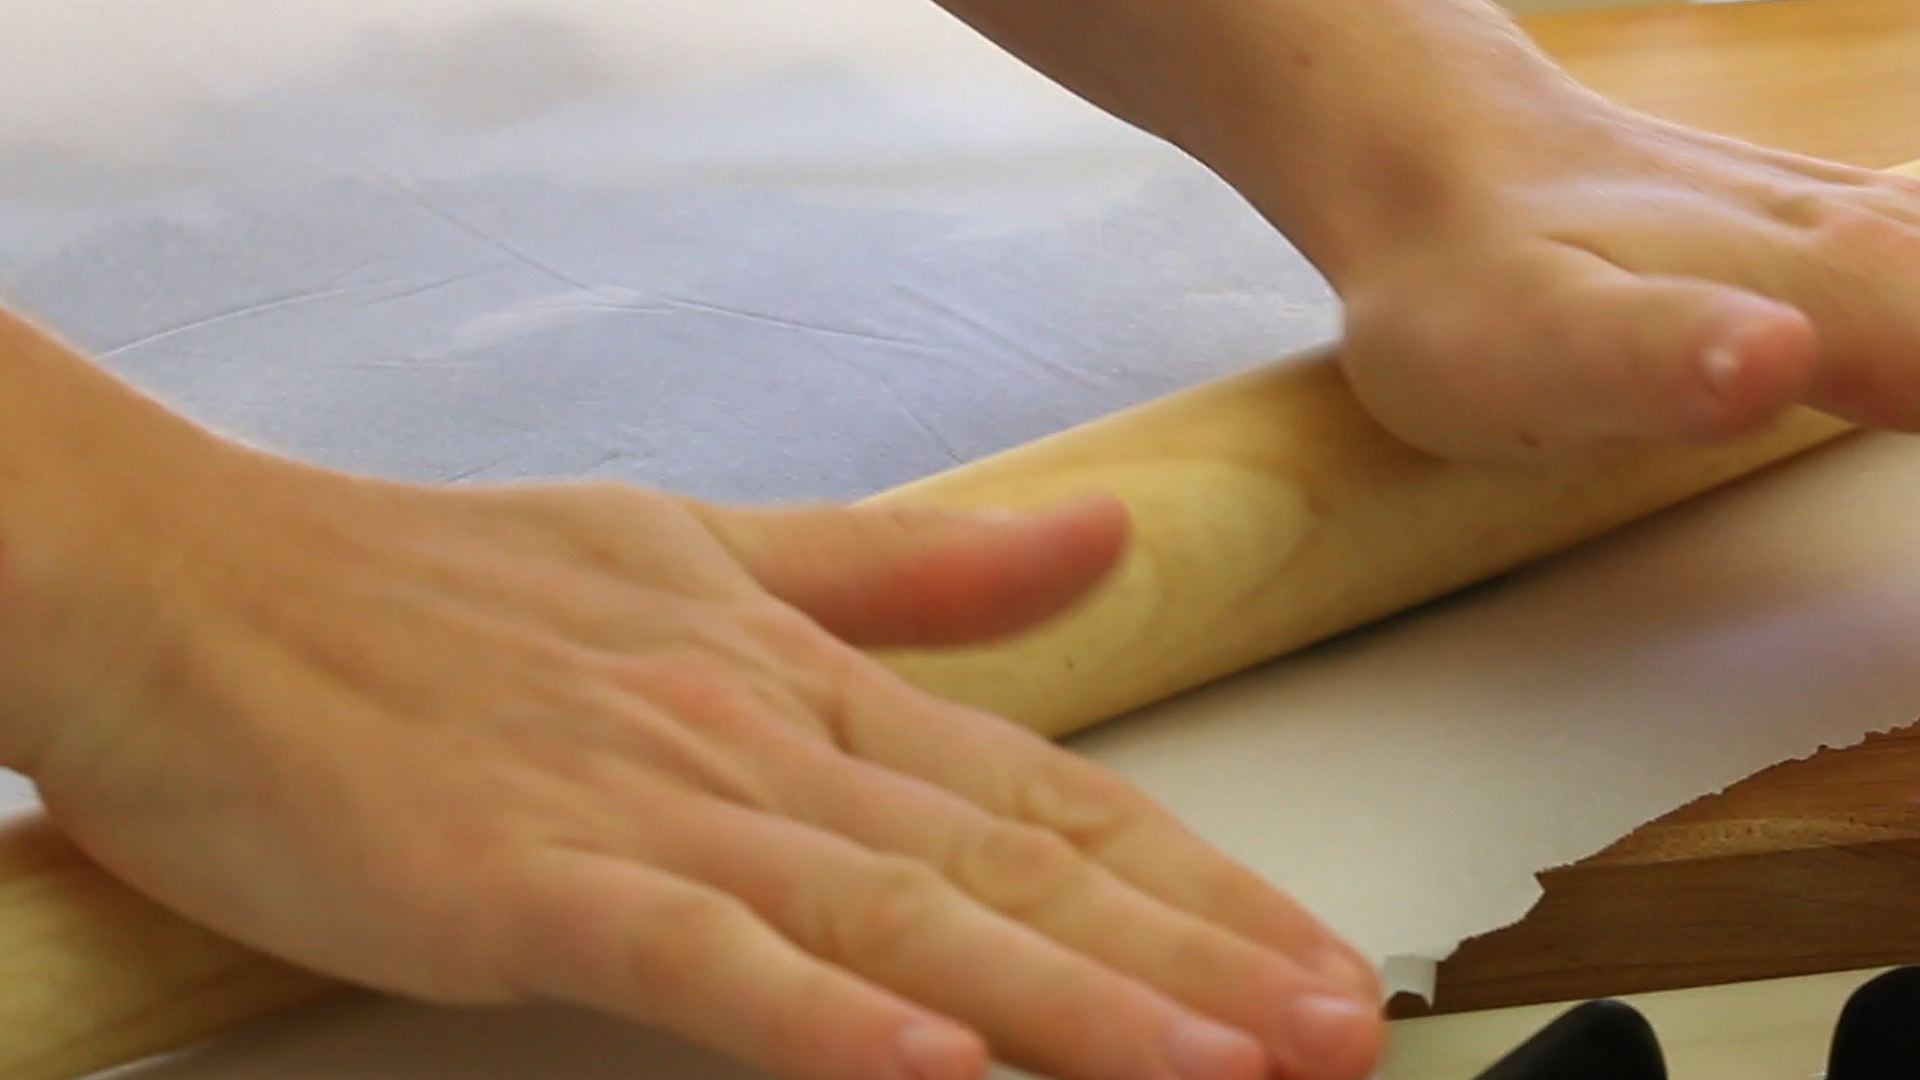
– 30 minutes later remove the dough from the refrigerator and place a second foil of parchment paper on top of the dough. This is a trick not to use any flour to roll the dough and keep the cookies moist! With a rolling pin roll the dough in order to obtain a 1/4 inch thickness.


– It’s time to play with the cookie cutters!!! I bought a set of 12 star shape cookie cutters and I used 6 sizes on the smaller side. If you like the idea of the mini trees you can use only 2 cookie cutters: a very small one for the top decoration and a medium star for the body of the tree.

– place the cookies on a parchment paper on a baking sheet and bake them in a preheated oven at 400F. for 10 minutes. Do not over bake them…even 2 minutes more will make the difference. I’m talking from my experience…if you have a close look at the images you will see that I almost burned one batch of cookies 😉 that happens!!!

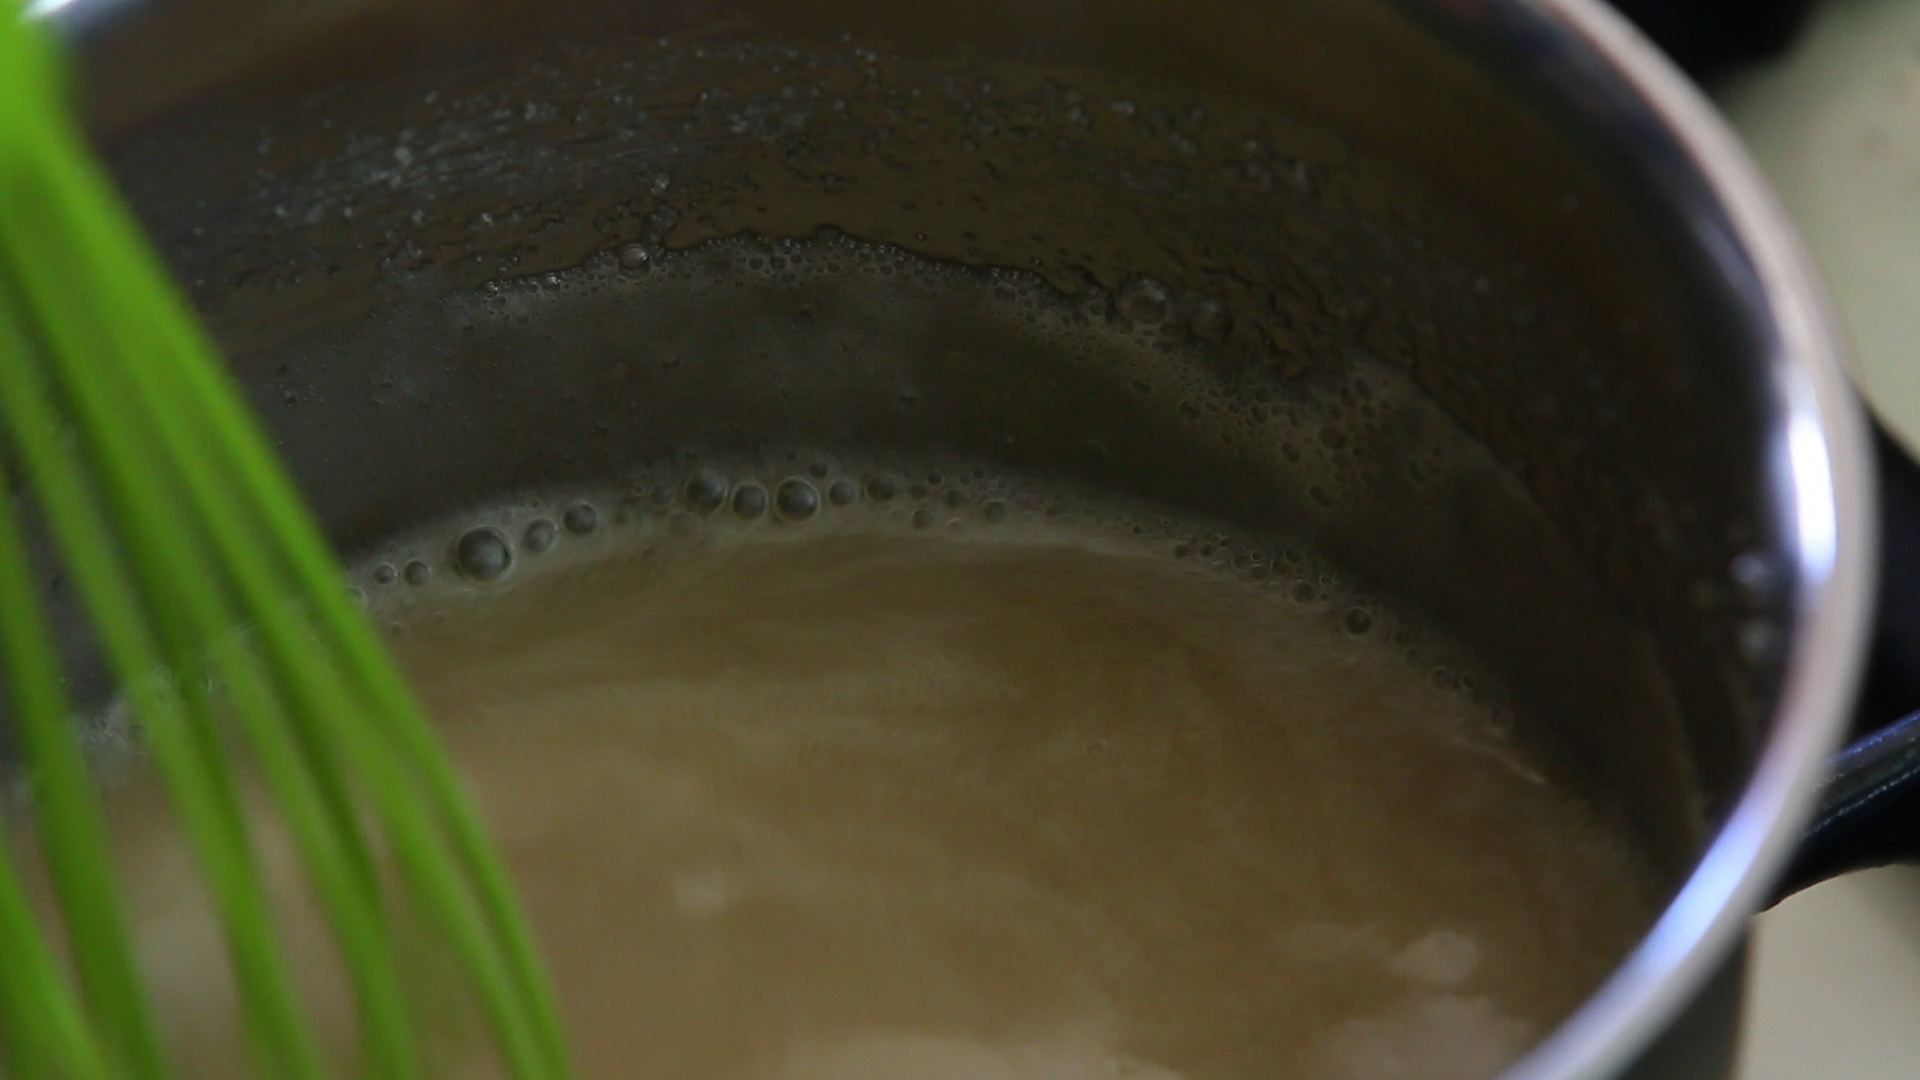
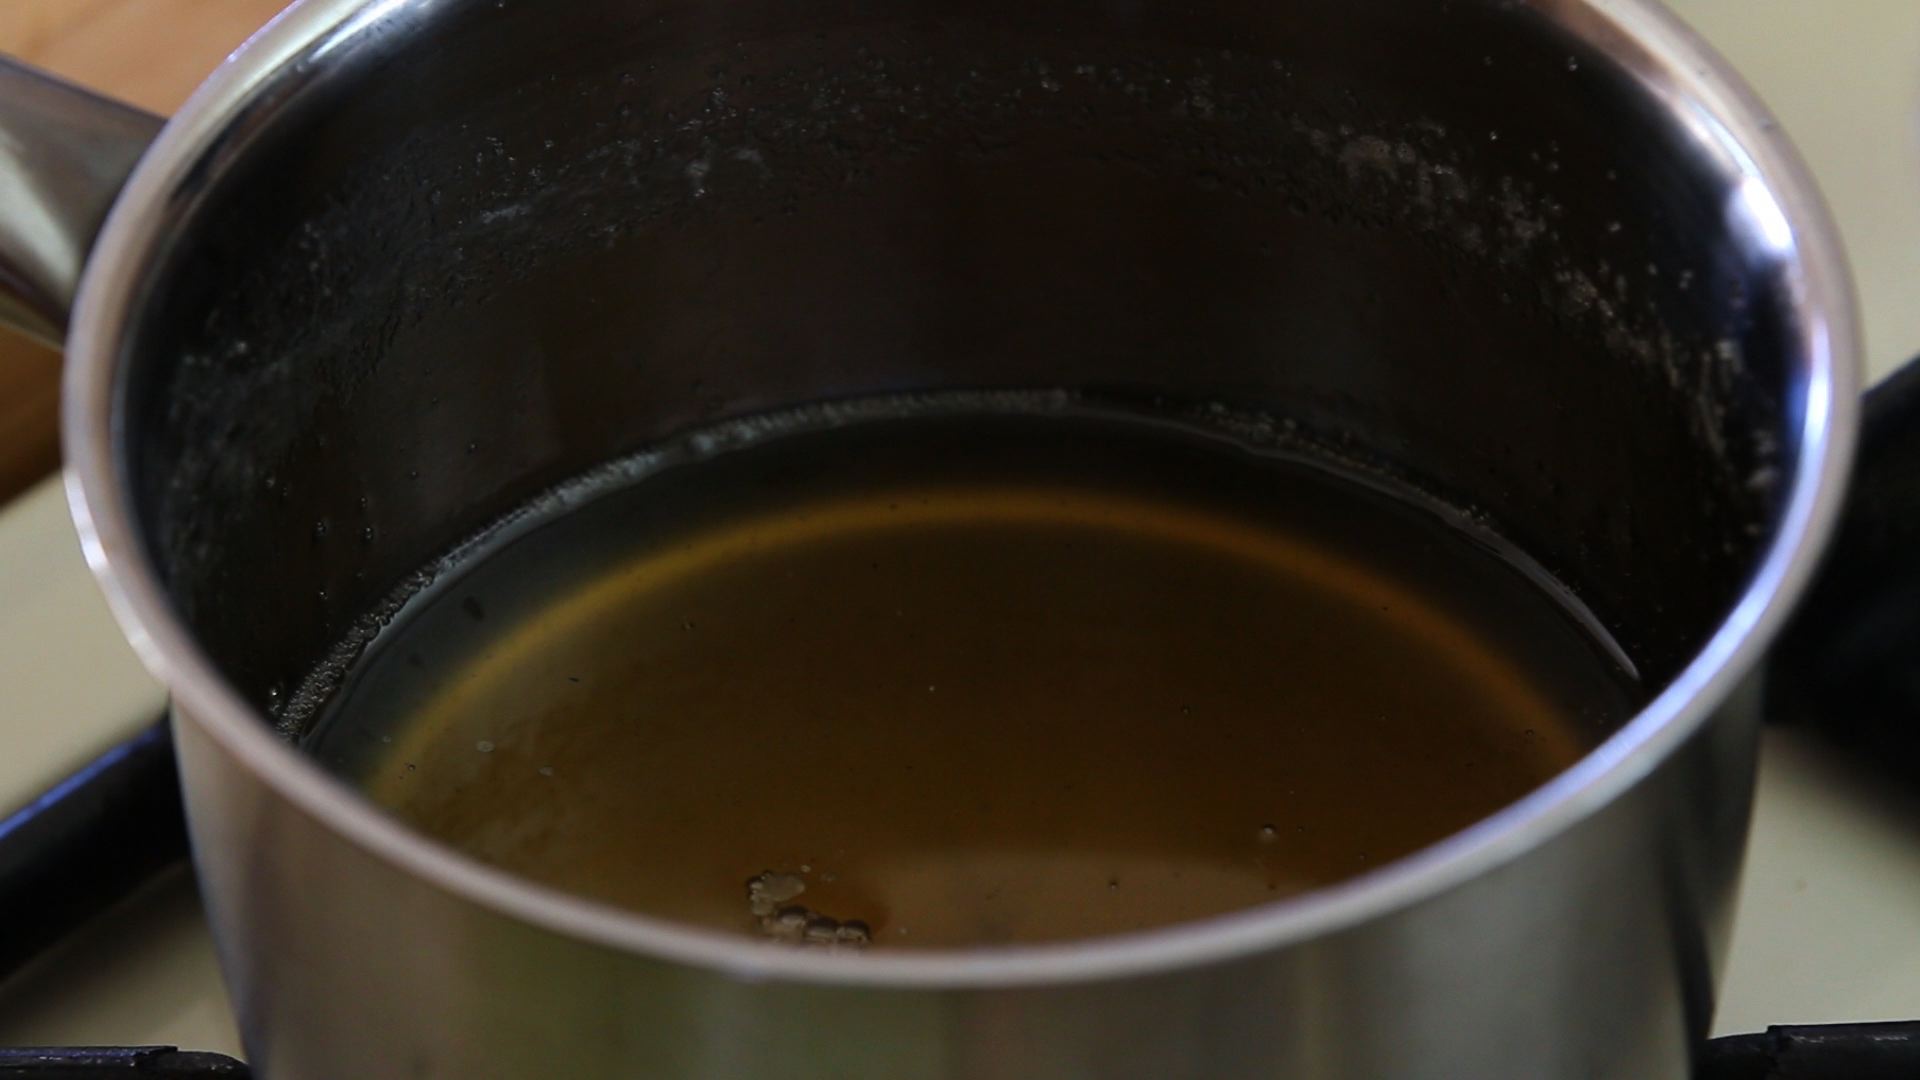
– while the cookies are cooling down, you will have plenty of time to prepare the sugar icing. In a small sauce pan place the water (room temperature) and the sugar. Turn the heat on at low and start whisking.
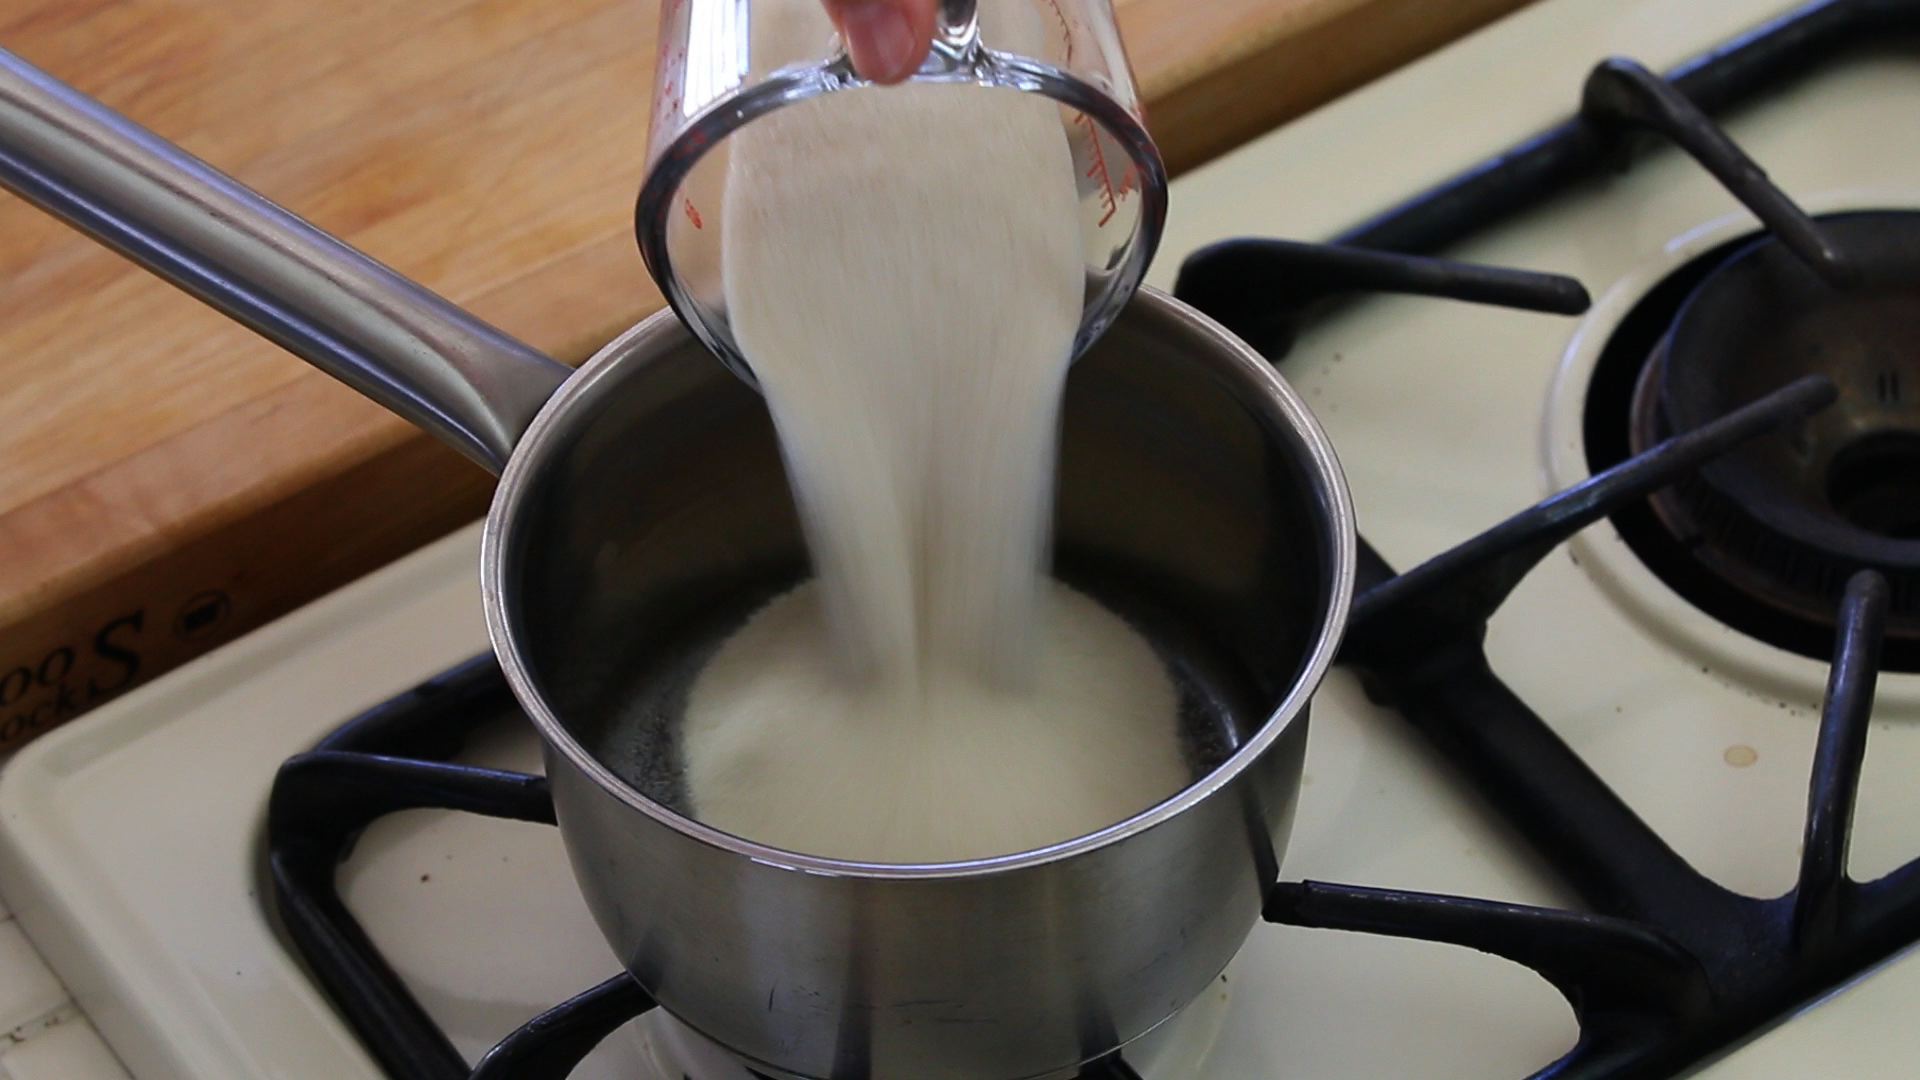
– when the sugar mix will start bubbling, keep whisking for 5 minutes. Thanks to the heat the sugar will react with the water forming a nice sugar syrup. Let the syrup cool down.
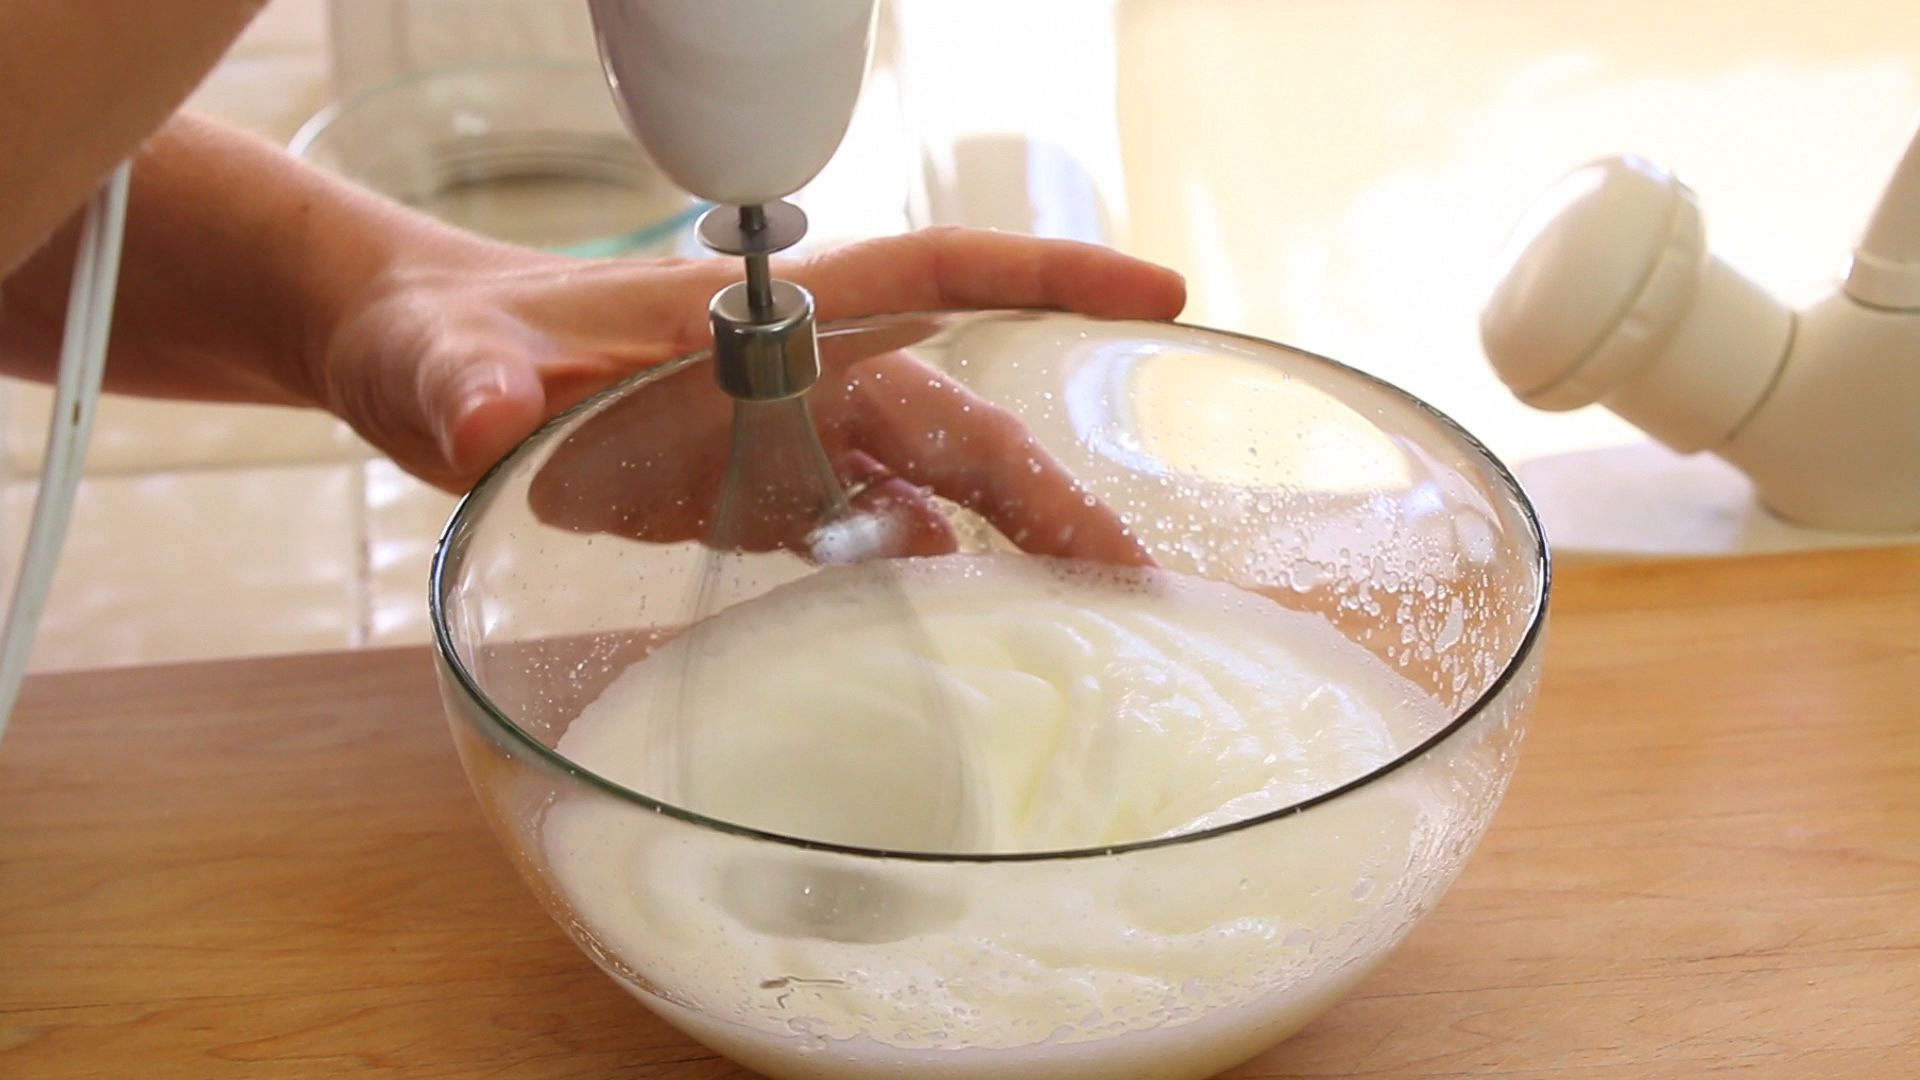
– Place in a dry medium bowl the egg whites and a pinch of salt. Beat the egg whites untill stiff and dry with an electric beater.
– Slowly add the sugar syrup, the vanilla and delicately mix with a whisk. Add the powdered sugar and mix.
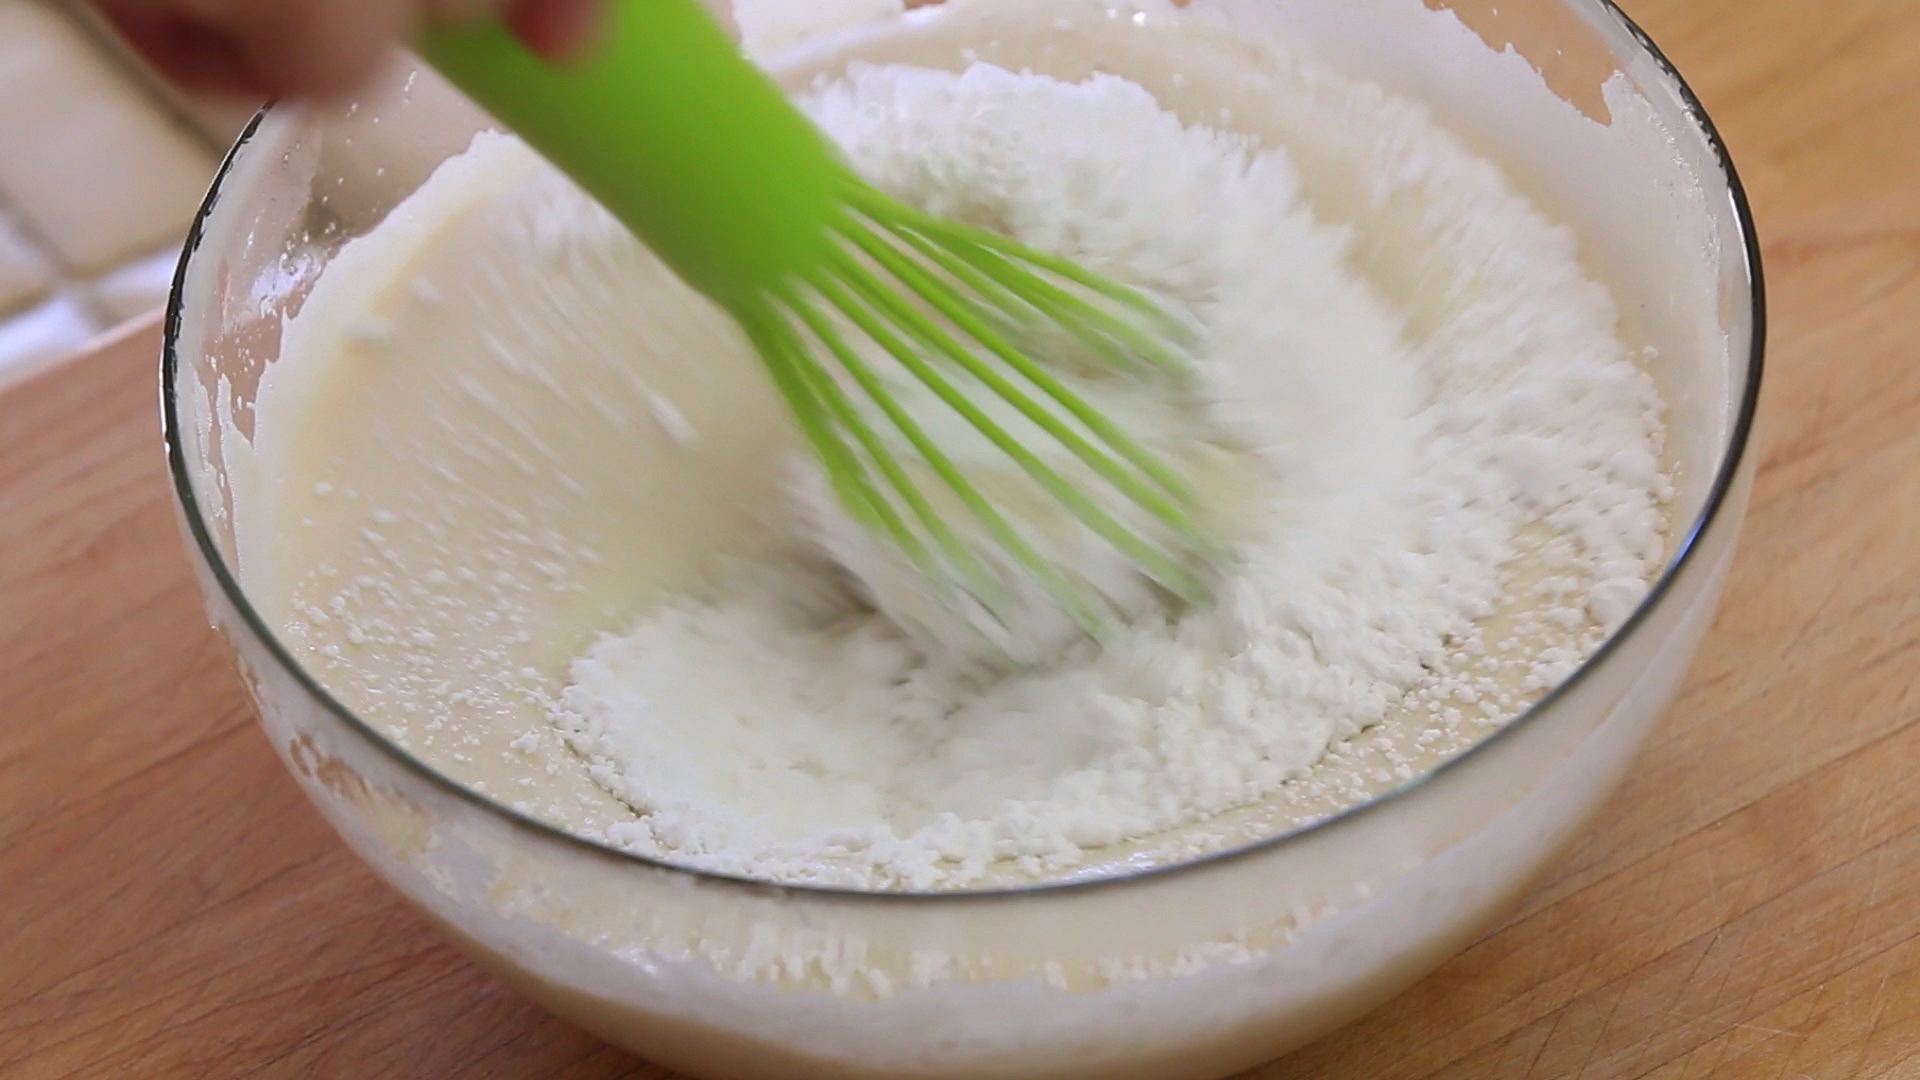
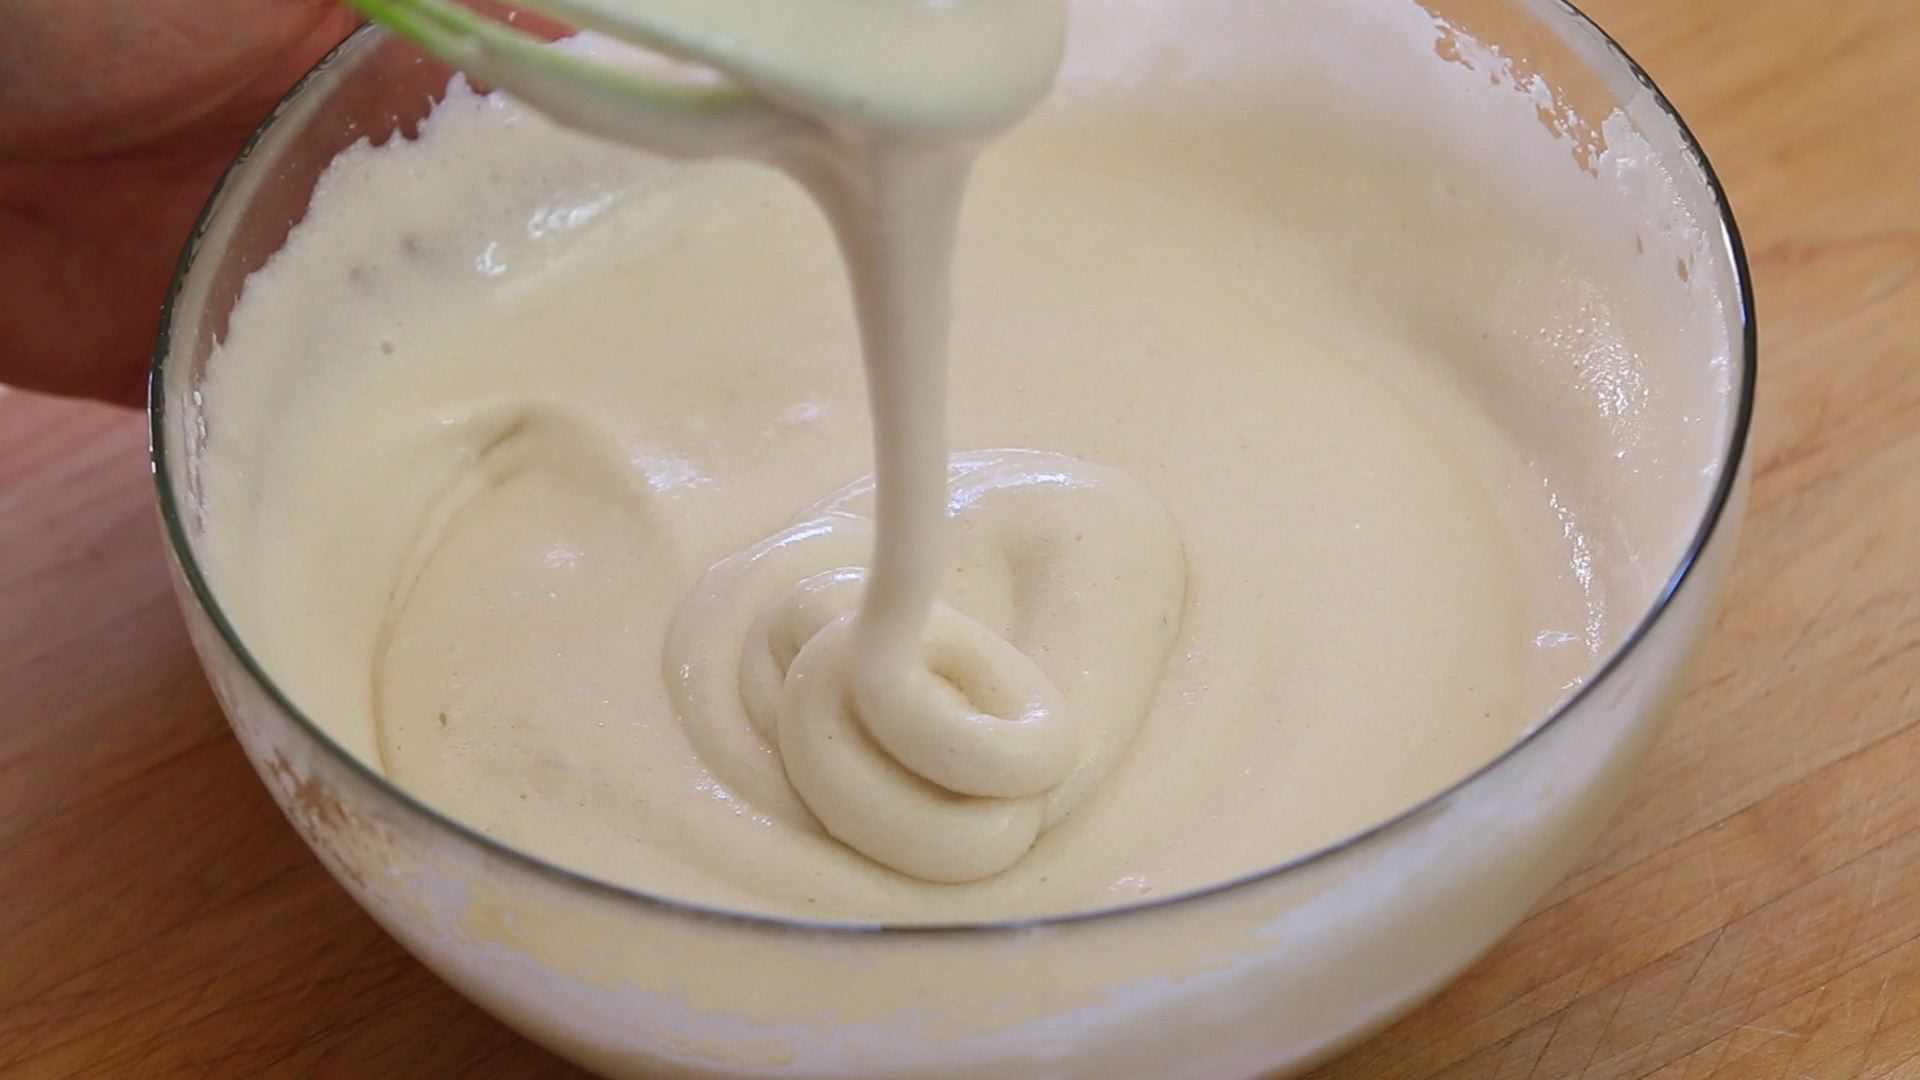
– you will obtain a nice, smooth, shiny and thick cream.
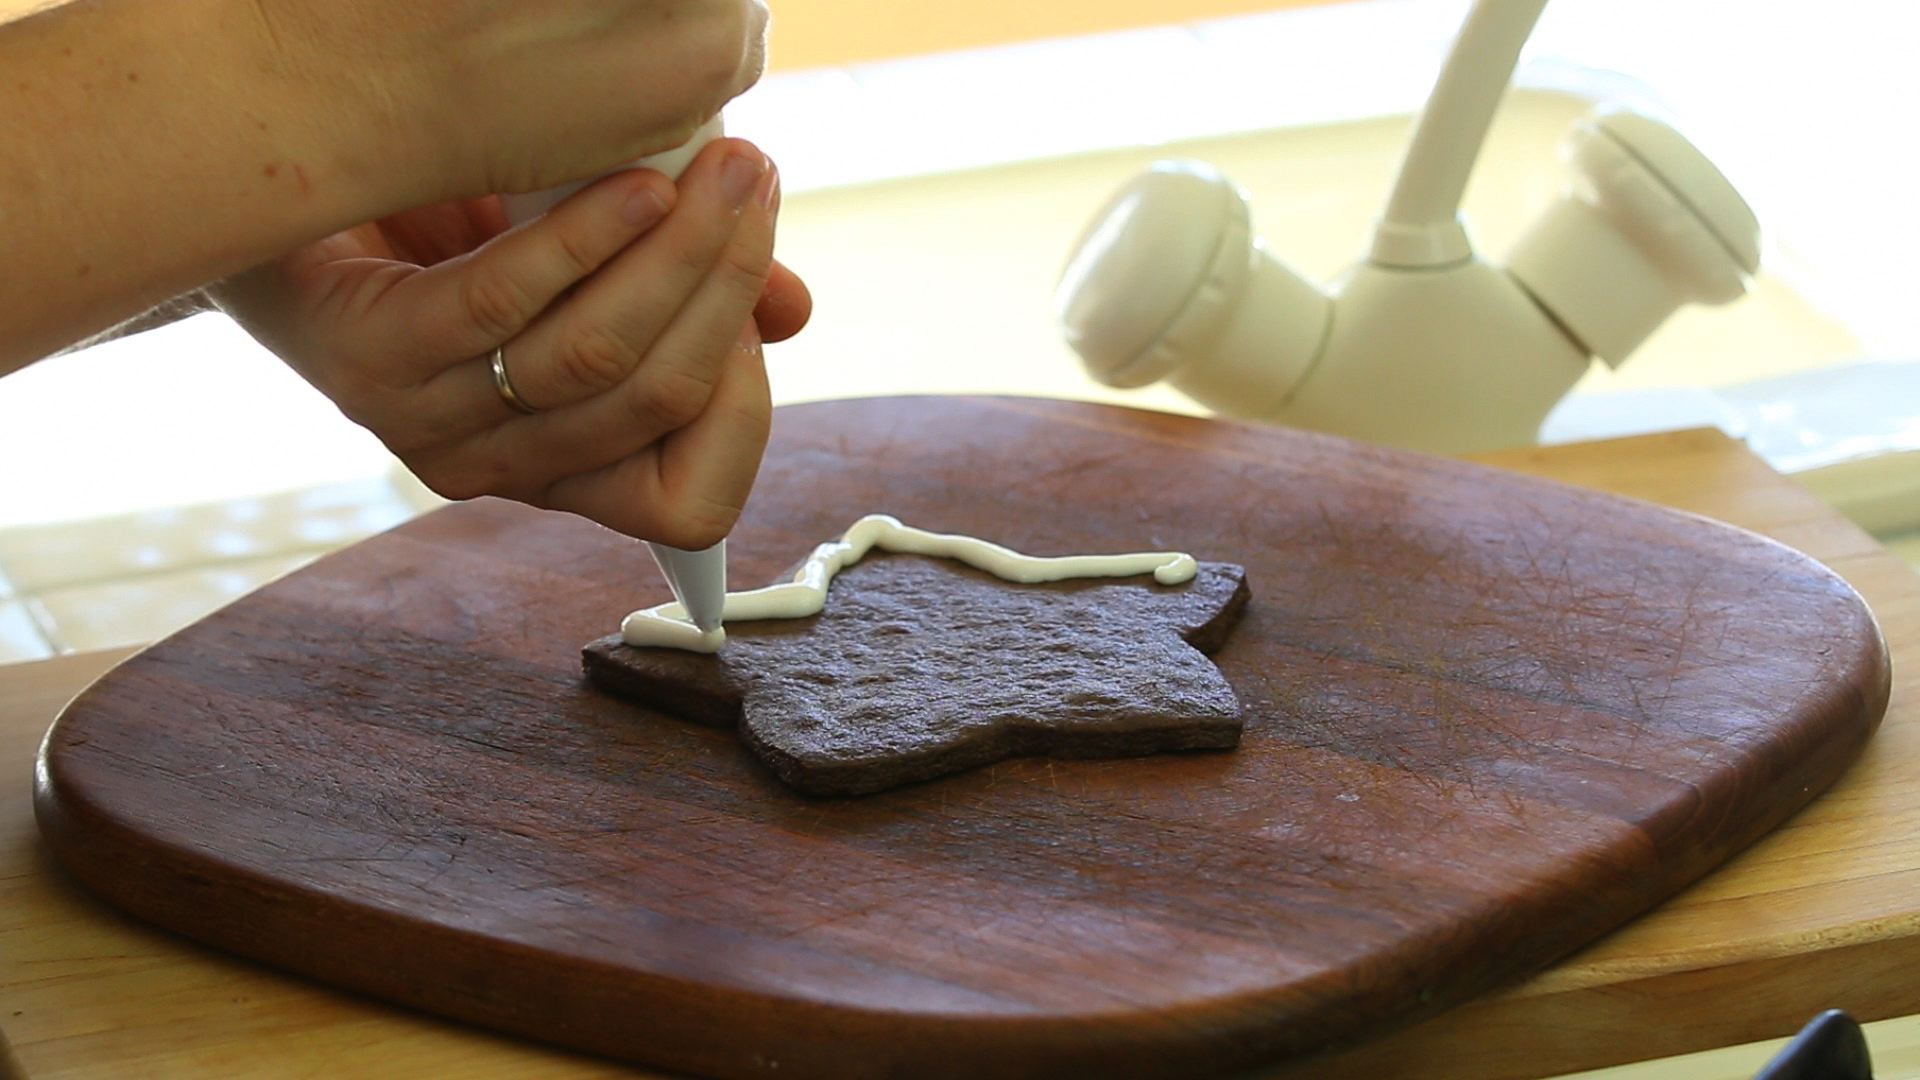
– it’s time to have fun with the trees. Take the biggest star cookie that you have and place it on a flat surface. Using a pastry chef bag cover the cookie with a layer of sugar icing.
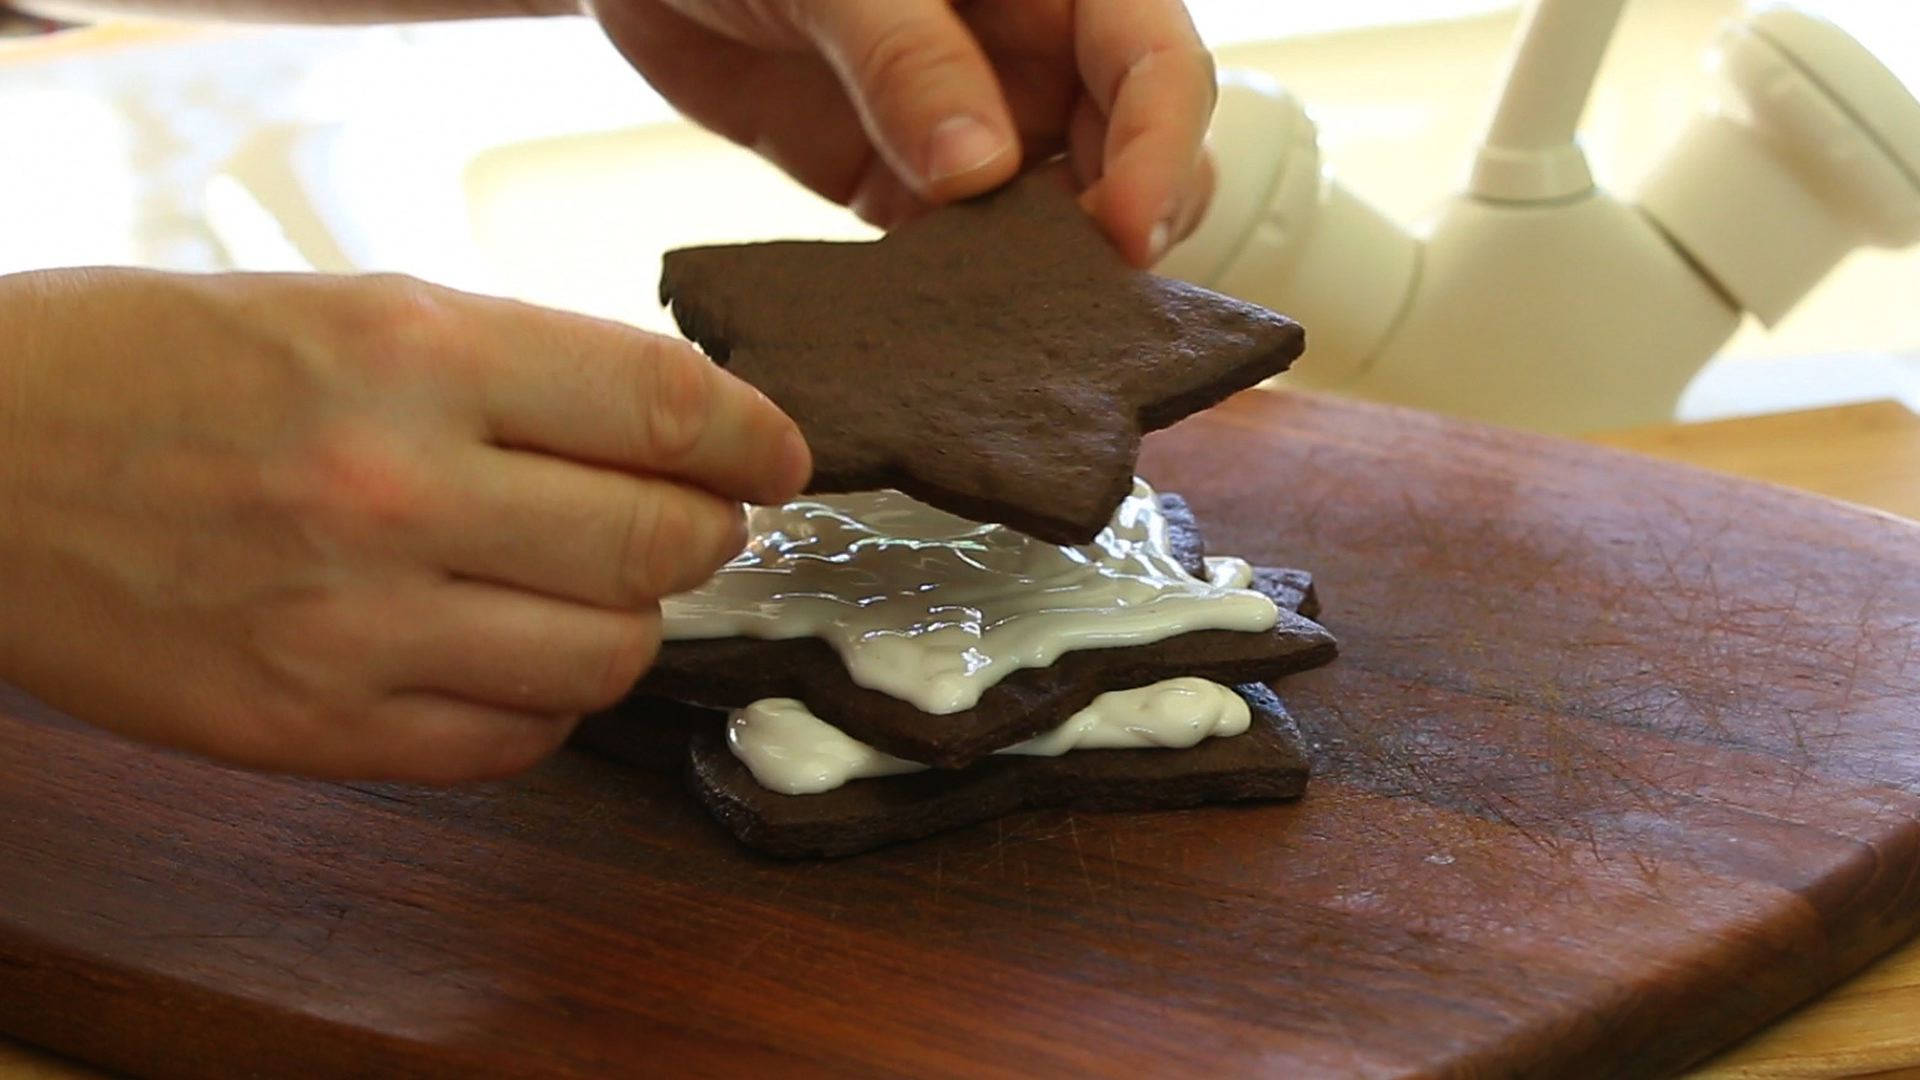
– Place a second cookie, smaller, on top of the white icing, slightly not overlapped

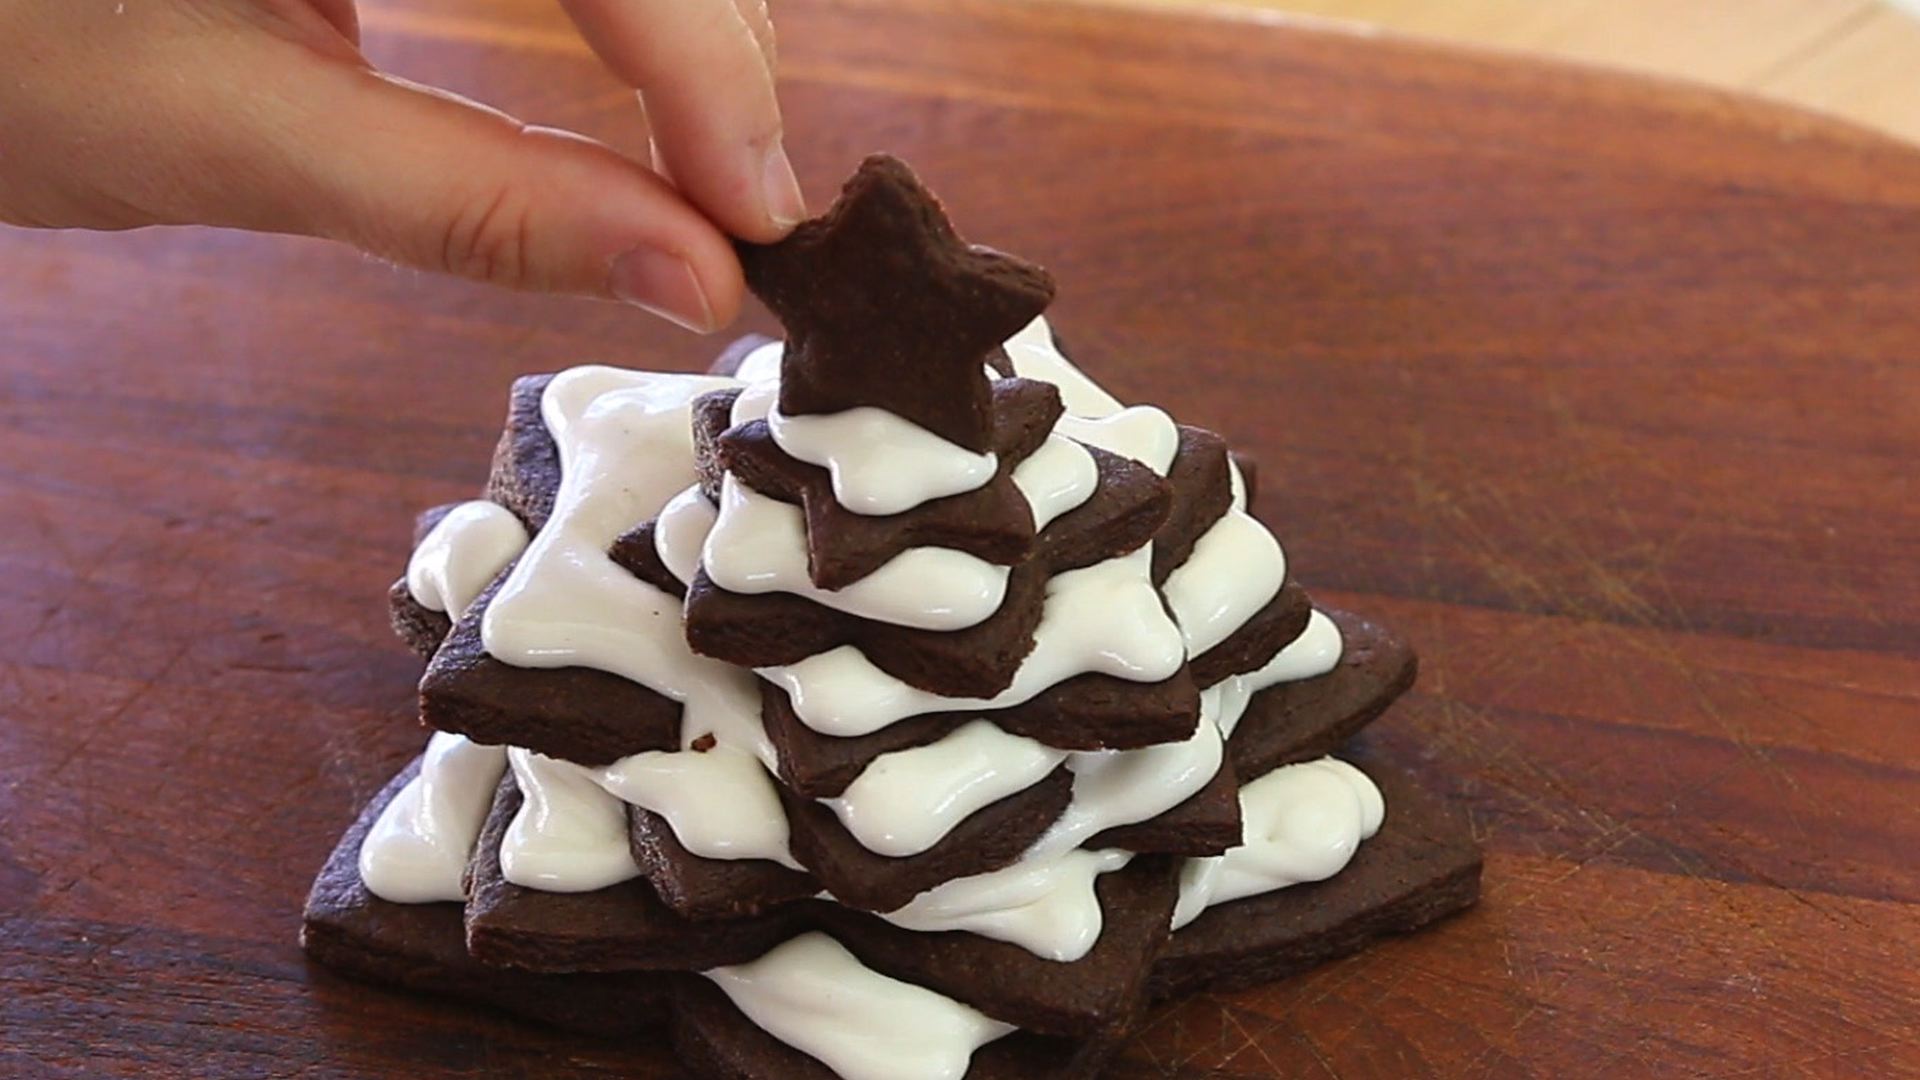
– keep going with the white icing and cookie layers in order to obtain a super cute white christmas tree!!

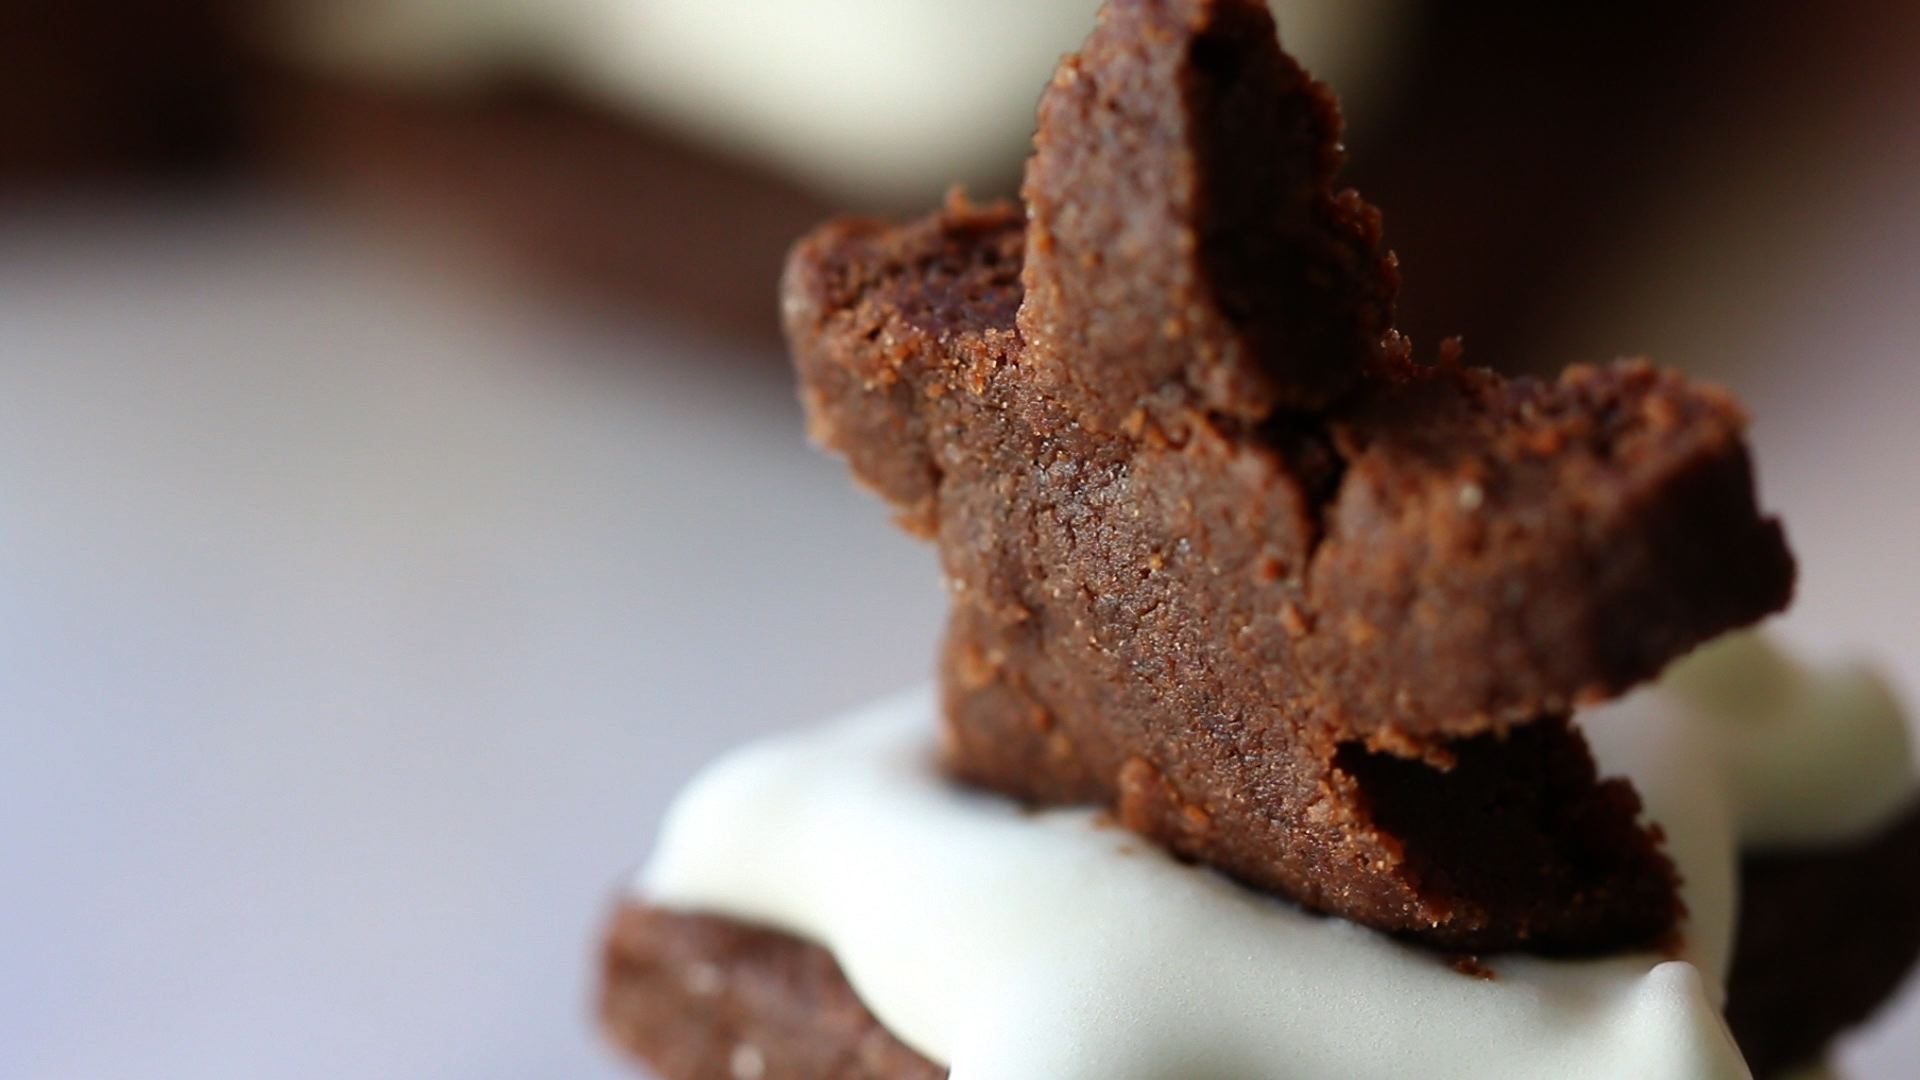
– final decoration: a small cookie on top
Let the sugar icing dry for at least half an hour before moving the tree or you might have a not fun sliding effect ;-0
What I really liked about the sugar icing was the very realistic soft snow effect and the shiny color! Also, the sweet taste is a nice match for the cocoa cookies!

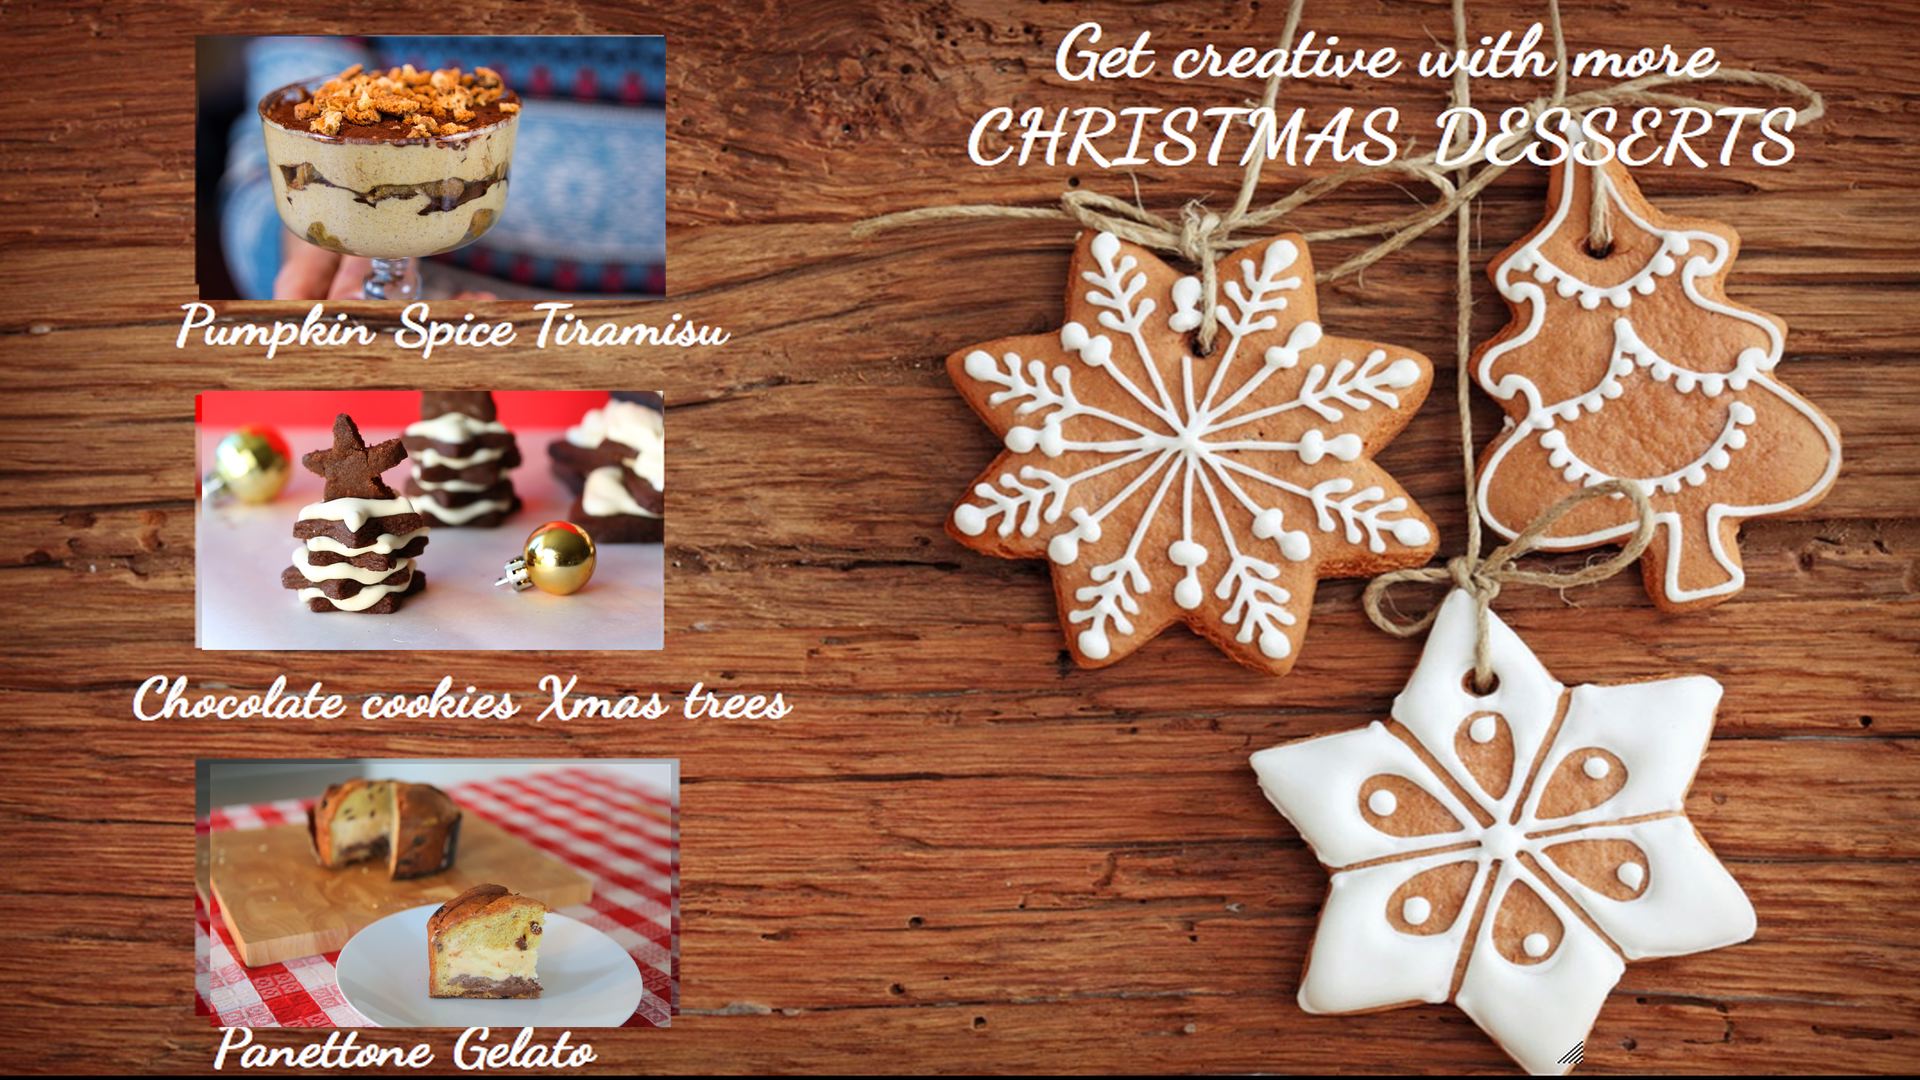
This recipe is part of an Italian Christmas delights collaboration with two foodie friends: Vincenzo from Vincenzo’s Plate and Bobby from FlavorCity. They prepared two delicious Italian desserts: gelato panettone and pumpkin spiced tiramisu’. Check their video recipes to get more inspirations for the Holidays!!


3 Comments
Did you make this recipe? Share the love, tag @buonapappa on Instagram and hashtag it #buonapappa I would love to see your creations!
Chocolate cookies Christmas tree recipe | Channll
December 10, 2014 at 1:06 am[…] https://www.buonapappa.net/chocolate-cookies-christmas-tree/ […]
Chocolate cookies Christmas tree recipe – The Santa Claus Blog
December 26, 2016 at 3:26 pm[…] Chocolate cookies Christmas tree […]
Chocolate cookies Christmas tree recipe – Santa Claus Singapore
January 4, 2017 at 2:53 am[…] Chocolate cookies Christmas tree […]